
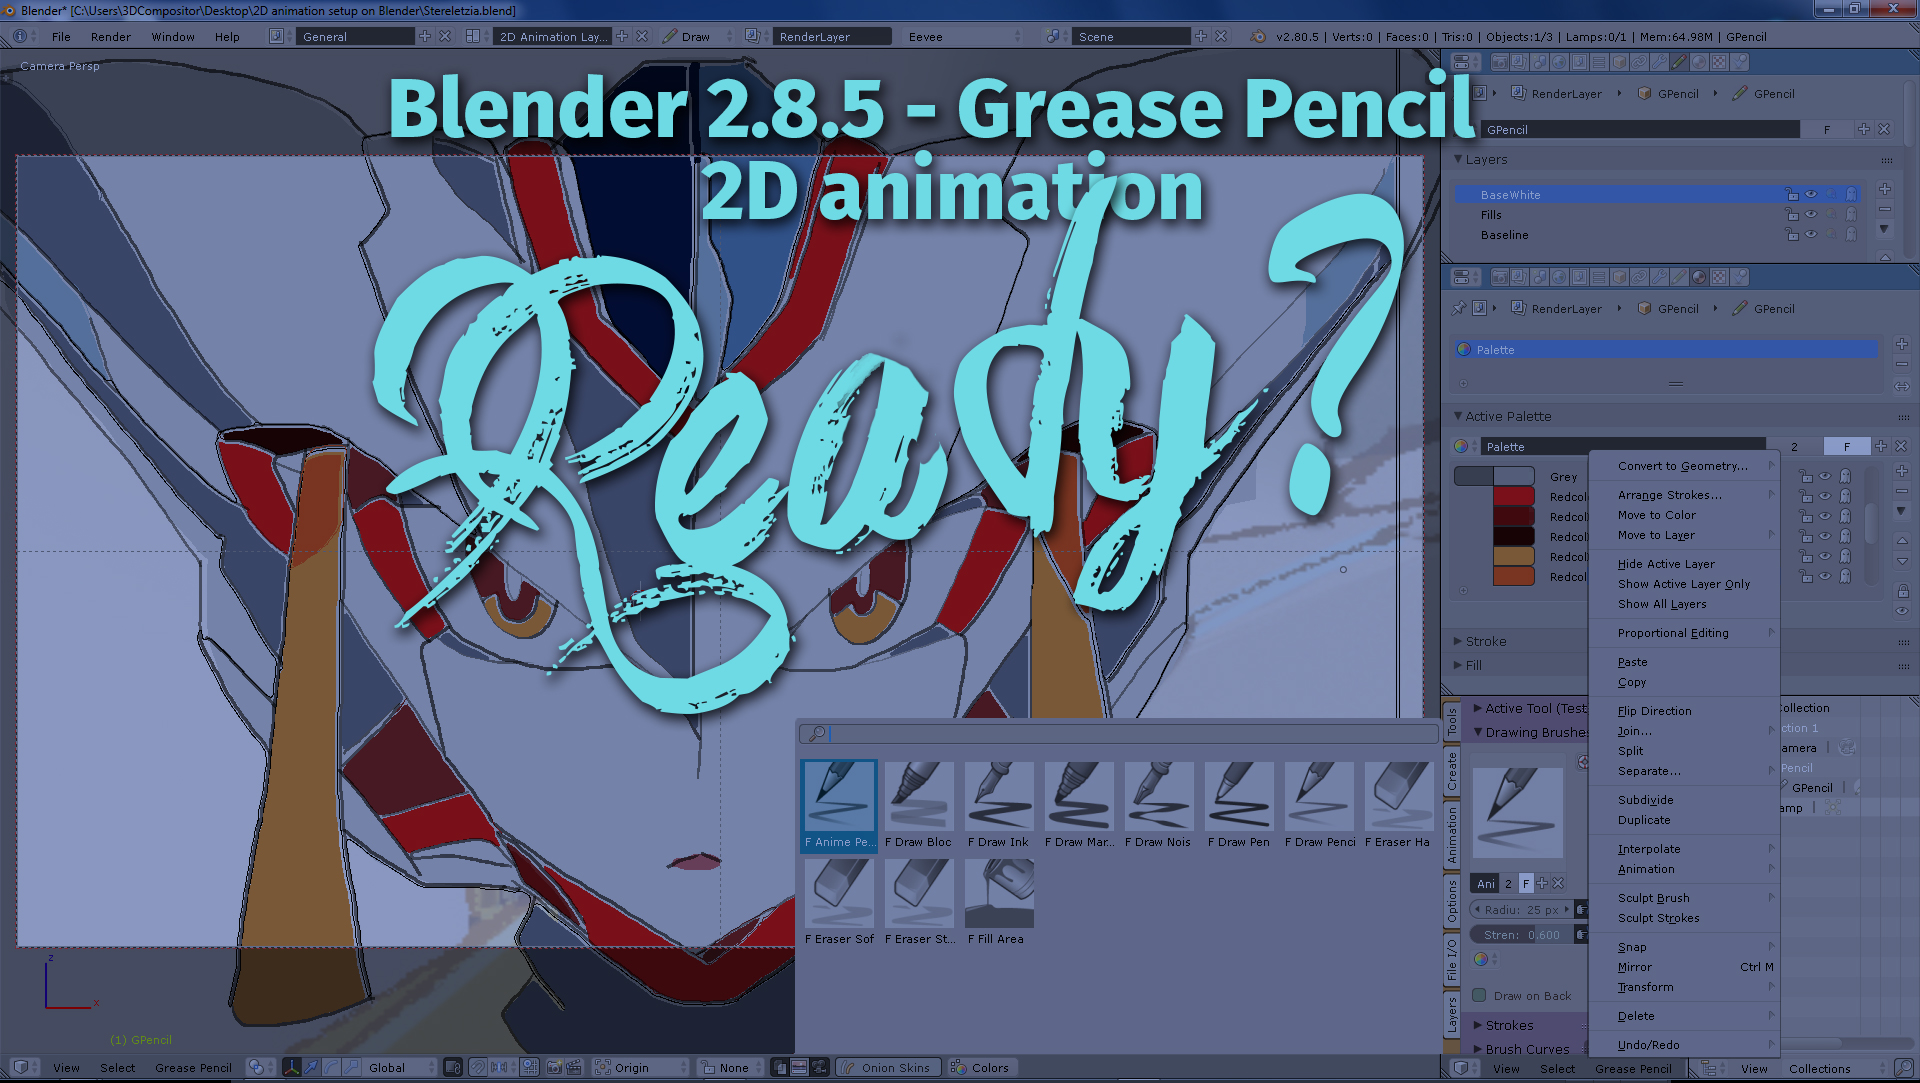
Blender is a free 3D and 2D animation software to do anime. Darling in the Franxx (By Trigger Studio) anime style along with other top AAA+ production styles, can be accomplished using Blender 3D. How do we work on 2D pencil animation with a 3D software? Here´s the tutorial and setup.
Foreword about 2D animation in Blender
Blender is an open source software free to use for any purpose. The official version is downloaded through the Blender Foundation (click here to download) The latest version is 2.79b (as of March 29, 2018). Download it and install it. This tutorial will be focusing on Blender 2.8.5 (which is still not the official release until October 2018) but we can enjoy many future benefits such as GREASE PENCIL today. This “future official” release can be downloaded now through Graphicall.org. Click here to download it
You will get a folder for Blender 2.8.5 Grease Pencil branch, unzip it and double click BLENDER.EXE. Since you already installed the latest OFFICIAL release (2.79.b) all your libraries, paths and dependencies will be ready and working (minimum requirements a GTX 550 card / CUDA supporting CL 3.3) other models of graphic cards are supported as well, check the list on Blender.org
The next video will show you the tools we are using in Grease Pencil. International video is on page 3 of this post (post page NUMBERS s are at the very bottom of each post, after “RELATED VIDEOS”) Check the following video for the tutorial:
How do we work on 2D pencil animation with a 3D software?
Proper (entire) workflow will be addressed in next tutorials. This post will lead you to the first basics of Grease Pencil… because the above question is as broad as asking “How do I make an architectural visualization realistic?” -We are going to walk on this step by step… so what we will do is FIRST is configure Blender 2.8.5 for a Grease Pencil proper workflow. But, in a nutshell: we will set our tools and lock our camera view to FRONT view to have an orthographic (iso) view in a 2D plane (in Blender would be Z and X axis). Yes, Z is “up” in Blender. Also, we will learn how to create layers, color palettes and effects for the vector strokes on the screen (drawings).
Let´s configure our workspace:
1. Press and hold “D“, then drag your mouse to draw in your 3d view, this will get you into Grease Pencil workspace. (Yes, you can draw or make annotations in 3D space, but more on that on another tutorial).
2.We need to configure our workspace and save it to work in future sessions.
3. On the “T” panel select “Tools”. Let´s configure the pencil: Choose any of the pencil presets. Give it a name: Anime pencil. Radius 25, strength 0.6. Strokes>input samples: 0, angle 5º. “Check” post processing settings.
4. Hover the 3d viewport. Press 1 on the numpad. This will set your front view. Press 5. This will set your view on orthographic view (check it is not on perspective).
5. Now, press CTRL+ALT+0 (zero on the numpad) > this will set your current view (front) to your active camera view. You are now looking through your camera. Everything you do will be rendered in this view only.
6. Press “D” and hold while dragging your mouse to make a “draw stroke” on the screen. To erase it press CTRL (in case you´re using the pencil, ctrl does a toggle back and forth from soft eraser). Erase any line.
7. Press “N” Go to Grease Pencil Paper. Choose the color 0.92 for RGB color. Set the opacity to 0.9. Uncheck Display grid (or check it if you´re doing perspective background drawings, if this is the case I recommend setting it to: 220×170). If you don´t want to see the native 3d grid, uncheck it on: Display>grid floor.
8. Change your lens view to 35. Open another window and press shift+f9 for outliner. Press F5 over the lower menu bar, to make it an upper menu. Then Select COLLECTION. Now click select your camera. It´s selected because it´s got a little circle on the camera icon. Go to properties zone. Change the lens to 35, and on “display” of your camera parameters you can choose visual guides by checking: Center, Thirds, Golden triangle A,B to suit your perspective / environment drawing.
9. Draw a simple smile emoji: Circle and 2 eyes. This is just a test drawing. If you need to rotate to your right, press SHIFT+Numpad 6; to your left SHIFT+Numpad 4. Notice the axis in your left lower part of the screen will indicate how you´re oriented.
10. To “zoom” just roll your mouse wheel up/down
11. Add a background PEG image (any image/your studio peg format): Select your camera on your outliner. On your properties zone, go to background image. Check FRONT to have it display on your FRONT ortho view. Select “FIT”. If you don´t see it, you may select camera instead of FRONT. Play with the options.
12. Press “0“(zero) on the numpad. This is your camera view, try moving only with zoom and drag (do not orbit on your view while you draw).
13 Press “N” uncheck “lock camera to view” and fit your viewport to the desired size while you´re on camera mode. Once you have the level of zoom and position you want, check “lock camera view” again. This will make sure whatever you do through camera view, will be your real displayed render on the end. Use lock/unlock to see your peg image or your background or whatever you´d like to draw over.
Now all your settings are ready! Let´s save this configuration.
14. Create a new workspace (the text space besides the DRAW sub menu at the top of the screen) Name it something like “Draw 2D. Press the “+” icon. This will create a new automatic workspace.
15. Let´s make sure Blender 2.8.5 grease pencil branch will always start with all these settings in place. File>Save Startup File. Confirm OK to save.
CONTINUE READING PAGE 2 AT THE BOTTOM:
6 thoughts on “2D animation style like Darling in the Franxx using Blender (free animation software)”
Video has content from Sony Japan and can’t be viewed in the US. Bummer.
International version is uploading right now and it will be placed on Page #3 of the post. Thank you for the heads up.
On page 3 you have the international version, now.
Still won’t play, same “contains content from Sony Music (Japan)…” as the first version.
Hi Mike, problem fixed. New version (direct tutorial) is online. The blocked content is in dispute now. Let´s see what happens in 30 days. Cheers.
I like this blog. Congratulations!