
Let´s DRAW!
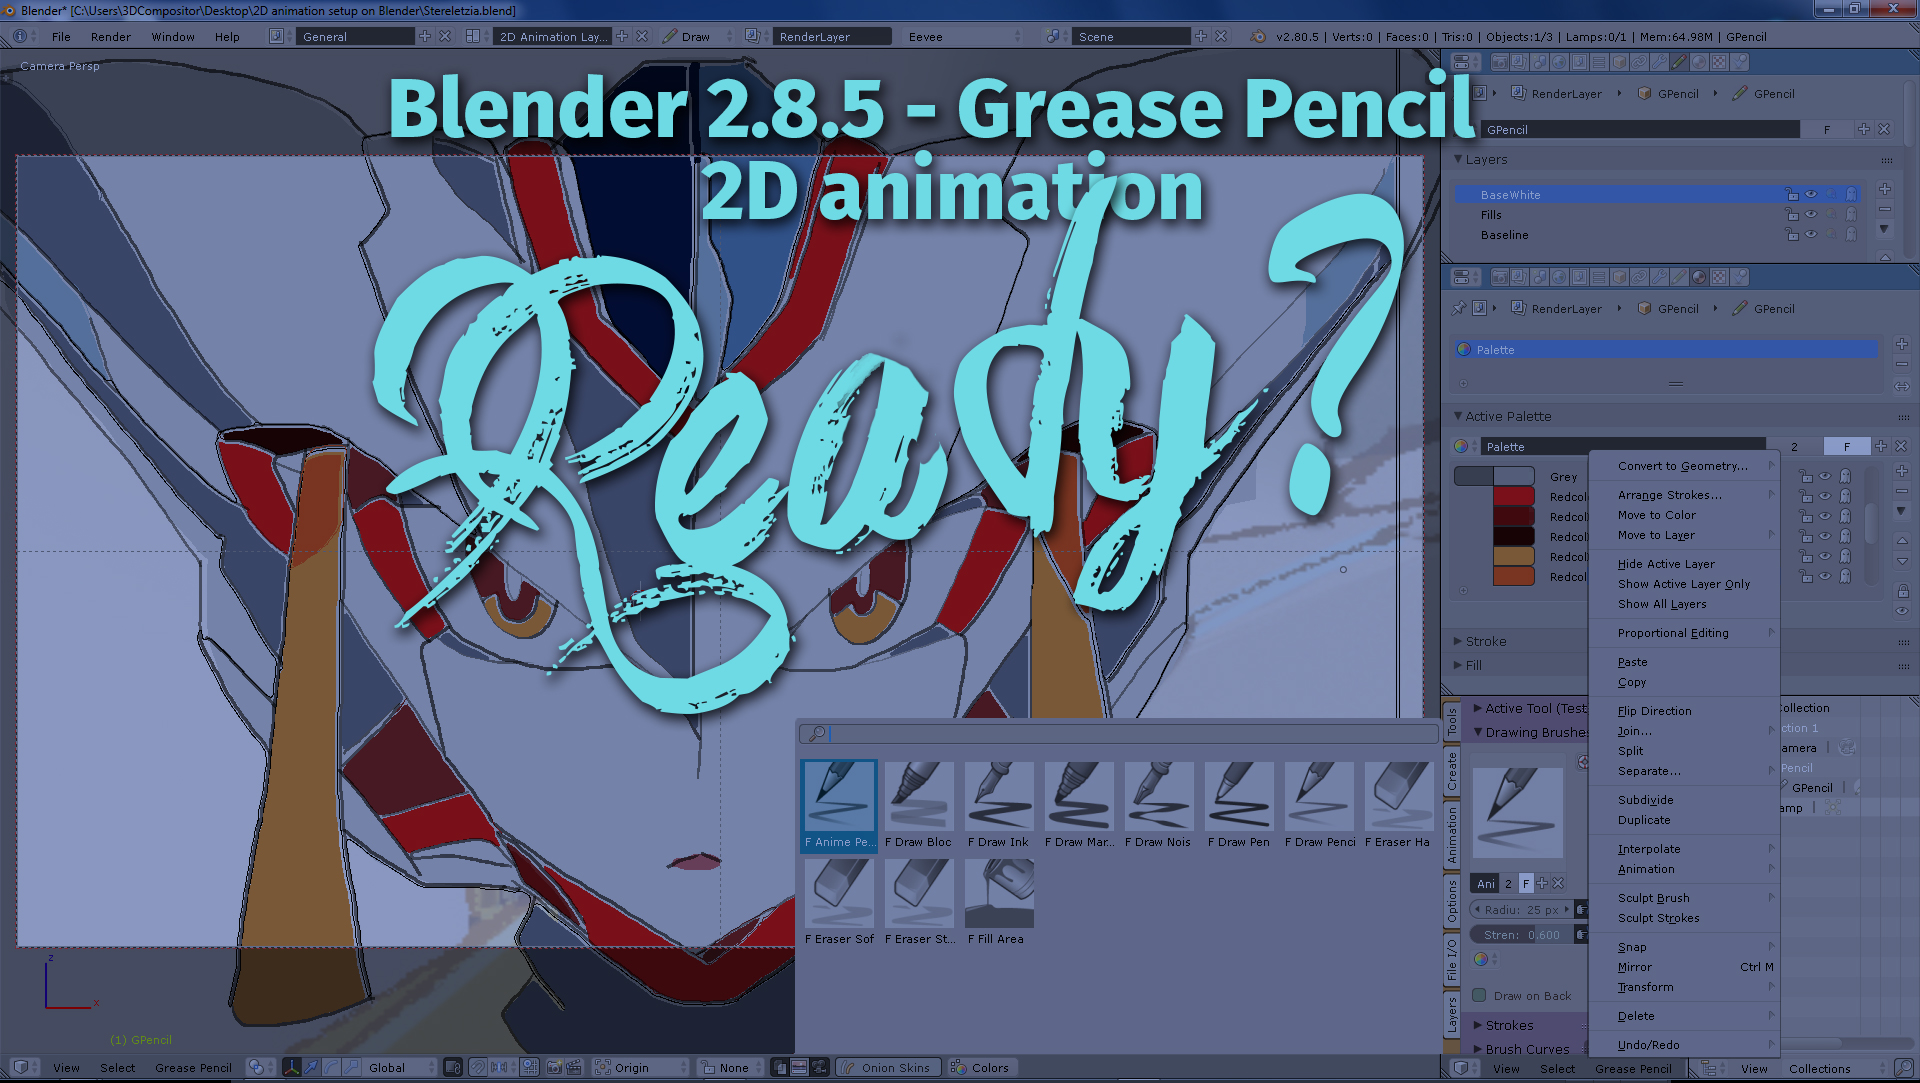
1. On your outliner select your grease pencil object. Draw something. Now, all of your object properties zone will change to reflect you are working with Grease pencil modifiers and effects. LAYERS represent what you´re doing inside the GP (grease pencil) object. You can have many Layers, create them with the “+” sign. Delete them with “-“. You can also Duplicate the layers or merge them down. Right beneath there´s an opacity slider to adjust the level of transparency in the whole layer. Create (or rename the current layer) as “Sketch”. So this layer is used to do all our roughs and drafts.
2. If your camera looses its center of focus, go back to object mode (press tab>object mode). Select the grease pencil empty and press “period . ” on the numpad to focus selected. Now you can rotate around that object in case you need perspective from camera.
3. I would strongly recommend that in case that you occasionally (accidentally) move your camera on 2D view: the way to reset it back would be: PRESS “1” (front view), check if you´re on Ortho view (if not, press “5” on numpad), and press CTRL+ALT+”0″(zero on the numpad). This will set your current view (front ortho) to be your current camera view. This is how you “reset” your view.
4. To change the color of your strokes, go to MATERIAL properties. There you will have an active palette of colors. On your left side is the STROKE color, and your right side contains the FILL color. You control them using opacity: 0 (zero) means they are not active, 1 means they will be fully rendered. A default palette comes configured and the color coding is: Blue – Use for shadow definition, red is for highlights, gray is for roughs (background) and black is the default. I tend to use a purple blue tinted stroke at 90% opacity. But that depends on your needs.

5. Each layer you create is stored under the GP object. And also each palette is assigned to that object. The layer closer to be represented on camera is the LAST layer. While the layer that is far in the background is the FIRST layer on the list. FAR: First. CLOSE: Last.
6. Press “T” to have your tool panel active (if you don´t already have it) and now select your ANIME PENCIL to start drawing. Draw something. Now, on your T panel switch to Create to check out circle shapes and squares.
7. On the lower part of your 2D workspace there will be a button “colors” this is a quick shortcut to represent the colors you have created on your MATERIAL properties palette.
8. Draw anything on the screen with your pencil tool. To “toggle erase”, press and hold CTRL : your pencil will switch mode to soft eraser. If you need to adjust the radius: go to the tool first, adjust the radius to your like, then go back to your pencil tool and then draw and if you want to erase, press CTRL while you drag to erase your pencil, you´ll notice now it has the radius you need.
Manipulate the viewport:
- Shift + Roll mouse wheel up/down(zoom in / out) (XSIMOD: Just roll the mouse wheel)
- Ctrl + Roll the mouse up/down (pans X or -X)
- Click and hold the mouse wheel (Blender Pan function: Shift+Middle Mouse Click hold) XSIMOD theme: Middle press wheel to pan
- Shift + (numpad 4) roll to the left, Shift + (numpad 6) roll to the right (rotate view)
- “1” numpad: Front view, follow and press “5” to make it ortho view. Follow and do a “Ctrl+Alt+Zero(numpad)” and this will reset the camera to current view (Front).

General recommendations:
Always name your layers on your layer panel. Then on Material properties (which are to be thought as the COLORING palette) create the materials inheriting the LAYER name. For example: If you´re doing a HAIR layer, your colors for that layer should be HairSH (for shadow), or HairHL (for highlights), or HairBC (base color). This is a necessary discipline for your animation work is always in collaboration with other team members. Remember: your layers closer to the camera are the ones far down your list. While your far away from camera layers are the ones that are listed first. Blender reads last layer: newer: recent: closer to the camera.
Each grease pencil object stores its own set of layers and color palettes. So you could have environments on one Grease pencil object and you could have a main character on another Grease Pencil object with their own palettes and layers as well.
9. Check your “X” lock axis. This way you will only draw on 2D view on X axis. Because sometimes it can happen our canvas may move just a little and strokes and paint are placed far into “depth space”. This lock axis will make sure you draw on your X plane. If you happen to be drawing and you don´t see anything is because the camera moved and now you´re drawing into depth. If this is the DESIRED action, uncheck lock X axis, set it to NONE.
10. While you draw some of your strokes could be misaligned to another plane (far, back, twisted) from your GP object. In such case you should enter EDIT mode (press tab) and select those strokes. Then go to Grease Pencil menu on the lower MAIN BAR and Transform>Reproject Strokes>Choose Axis/Planar/Projection (this function will Blender 2.8.5 experimental crash immediately, but this function works perfectly on Blender 2.7.9b official release). So I would recommend to have a little patience and let´s wait for full release on October 2018 along with other *many* nice surprises, presets, and effects.
CONTINUE READING PAGE 3 AT THE BOTTOM:
6 thoughts on “2D animation style like Darling in the Franxx using Blender (free animation software)”
Video has content from Sony Japan and can’t be viewed in the US. Bummer.
International version is uploading right now and it will be placed on Page #3 of the post. Thank you for the heads up.
On page 3 you have the international version, now.
Still won’t play, same “contains content from Sony Music (Japan)…” as the first version.
Hi Mike, problem fixed. New version (direct tutorial) is online. The blocked content is in dispute now. Let´s see what happens in 30 days. Cheers.
I like this blog. Congratulations!