
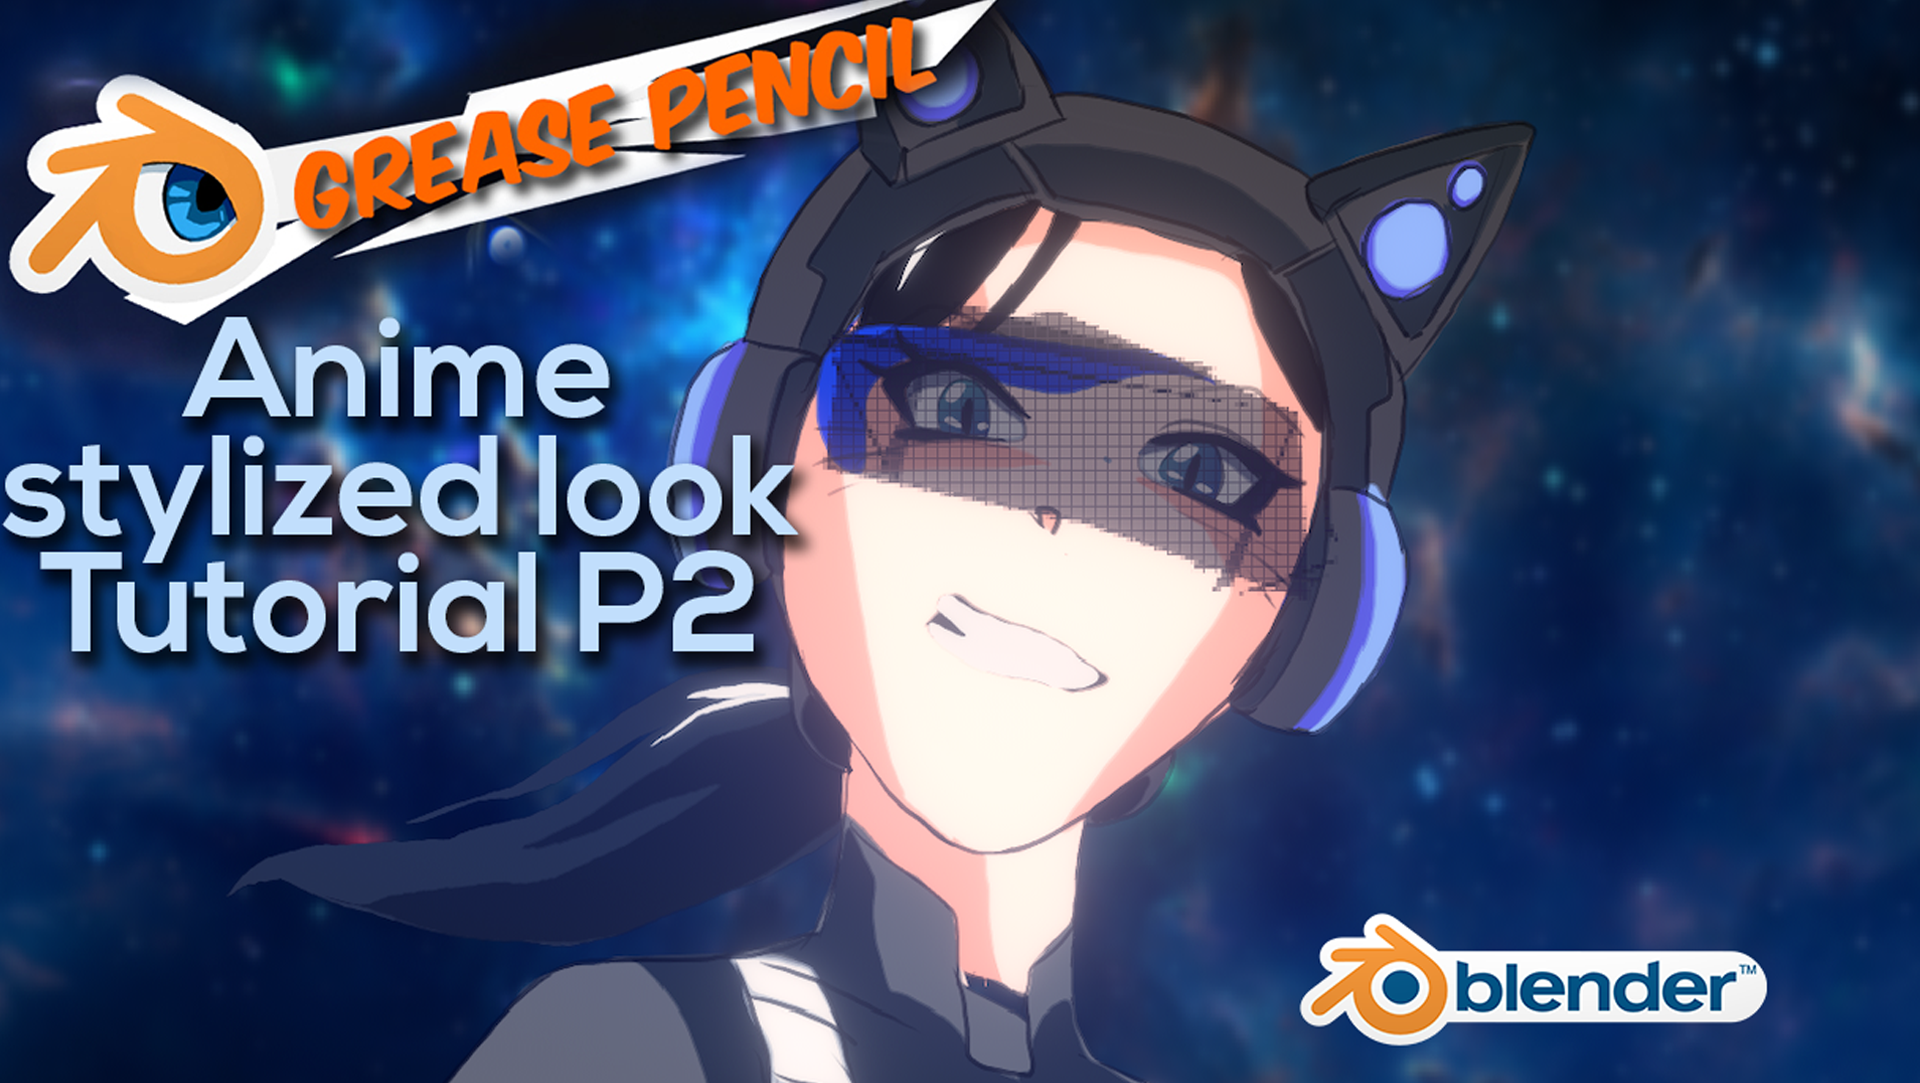
On part 2 of this tutorial, we will focus on how to get the anime stylized look for your Blender grease pencil objects by creating a tech neko-girl. We will also add new special grease pencil modifiers, so we can explore the possibilities on how to enhance the animation on the Natron compositor. So far Blender has been consistent in many areas on the 2.8.5 Grease pencil branch. Remember: this is not *yet* the official release. Expect a full release on the last quarter of this year.
Grease Pencil tools so far:
Grease Pencil is still in development, so the more feedback you can give to the developers, the better. Video tutorial will be on page #2 of this post. But first, it is important that you recognize what´s going on in the video:
Grease Pencil objects have to be duplicated in Object mode. Once duplicated, they live in their own object container with their own: Grease Pencil LAYERS (these are not system layers, nor render passes layers), and their own palette and effects! In our case we will create a GP_Body (grease pencil object: Body), GP_Eyes, GP_Mouth, GP_Pony tail (hair), GP_Hololens.
Grease pencil objects can contain modifiers that can be applied only to them. Like in the case of LIGHT modifier. You can select an object in the scene and the parameters of the modifier will allow you to tweak ambience and intensity of the “light”. What is really going on is that the object only gives out a vector to affect the material color depending on the distance to the GP_Object. So cool.
When you´re doing strokes, if you need a STRAIGHT 90º line (horizontally) or vertically, press D, drag to either side of the canvas (2d iso front view) and press ALT.
There´s an awesome feature that, after you´ve drawn your lines, you can simplify the vertex points between other points. So if you have 100 points on a stroke line, enter EDIT mode and select point 1 and point 100, press X, select “dissolve between. Points 2 until 99 will be dissolved. So you can manipulate your line with less vertex.
Speaking of vertex, the final animation for this tutorial had only about 1000 vertex. To put it in perspective: if you create a very complex scene animation with a lot of strokes, Blender will have no problem handling the animation. I´ve tested Blender for archviz previz up to 10 million polygons on the screen and it hasn´t froze. To put in perspective: is like placing a character from Overwatch with all their weapons as a model in a scene repeatedly a 10,000 times.
When you animate, don´t forget, the animation timeline for grease pencil exist on the DOPESHEET editor, Sub Main Menu: GREASE PENCIL. Once you get there your layers will be named GREASE PENCIL, but if you open them you can see your outliner collection name for the objects you´ve created.
When your camera accidentally moves, you can press “(numpad) 3” and it will get you to front view. Check it is an iso view (toggle between perspective view by pressing “5 Numpad”). Once you´re set on the front iso-view, make the camera that view, by pressing CTRL+ALT+Zero(numpad 0). This will “reset your camera view”.
It´s very useful you use the GreasePencil Layers to organize the name of the parts you draw. This way you can block (use the lock feature) what layers you will not want affected either by eraser or sculpt influence. So you better plan ahead the way you want your grease pencil layers to appear for the camera. There´s even an option to “flatten” image. Meaning: Once you´ve completed your drawing, you can flat them down to 1 layer when you´re done. Also you can copy strokes between layers with CTRL+C, CTRL+V. All of these options live in the MAIN MENU of the grease pencil mode. Dont´forget MAIN MENUs on Blender are always at the lower side of the window.
SCROLL DOWN TO THE BOTTOM OF THIS PAGE AND CONTINUE READING ON PAGE 2