
Creating toon style through PASSES in post-production
This section will explore the principles of constructing a toon shader using PASSES first, so we will port that knowledge later onto other softwares or viewports.
This robot was created for a videogame in Unreal Engine and will set a practical example for the things Guilty Gear does. The perfect opportunity to test the same environment between softimage and Unreal. So we see a rim light pass and then a flat color pass on the render which shows 1 level highlight and 2 level shadows.
The texture was composed in Photoshop using a reference for the LIGHT part. Then I placed a purple solid layer to multiply to 80% to darken the same texture. I flattened the art, and exported both Light and Dark textures. The Toon Paint and Host shader in Softimage allows me to add a highlight automatically and I can compose it on different blending modes. I even have a “softness” parameter to work with a less intense shadow.
Another Key component to stylize the shader is also ANIMATION, because the way the body reacts and moves, the more the shader needs to be easier to read with internal lines, decals, and highlights, since this was a robot.
Let´s see how the light direction affects the normals and the shading. Also, let´s hide that point light and notice the point light stopped adding more lights into highlight since now it´s not present on the scene.

Smear frames and Effects
Another topic we will address in stylization is effects. Here, the robot will turn itself into a Ball. The way we do this is by creating a sphere, parenting it to the pelvis of the Robot since he´s going to roll by animation starting in his belly. Also the texture for the robot’s attack will reflect the “rolling” in the toon texture with speedlines.
The sphere is scaled from 0 to 40% in 2 frames. The ball surrounds the 3d robot body.
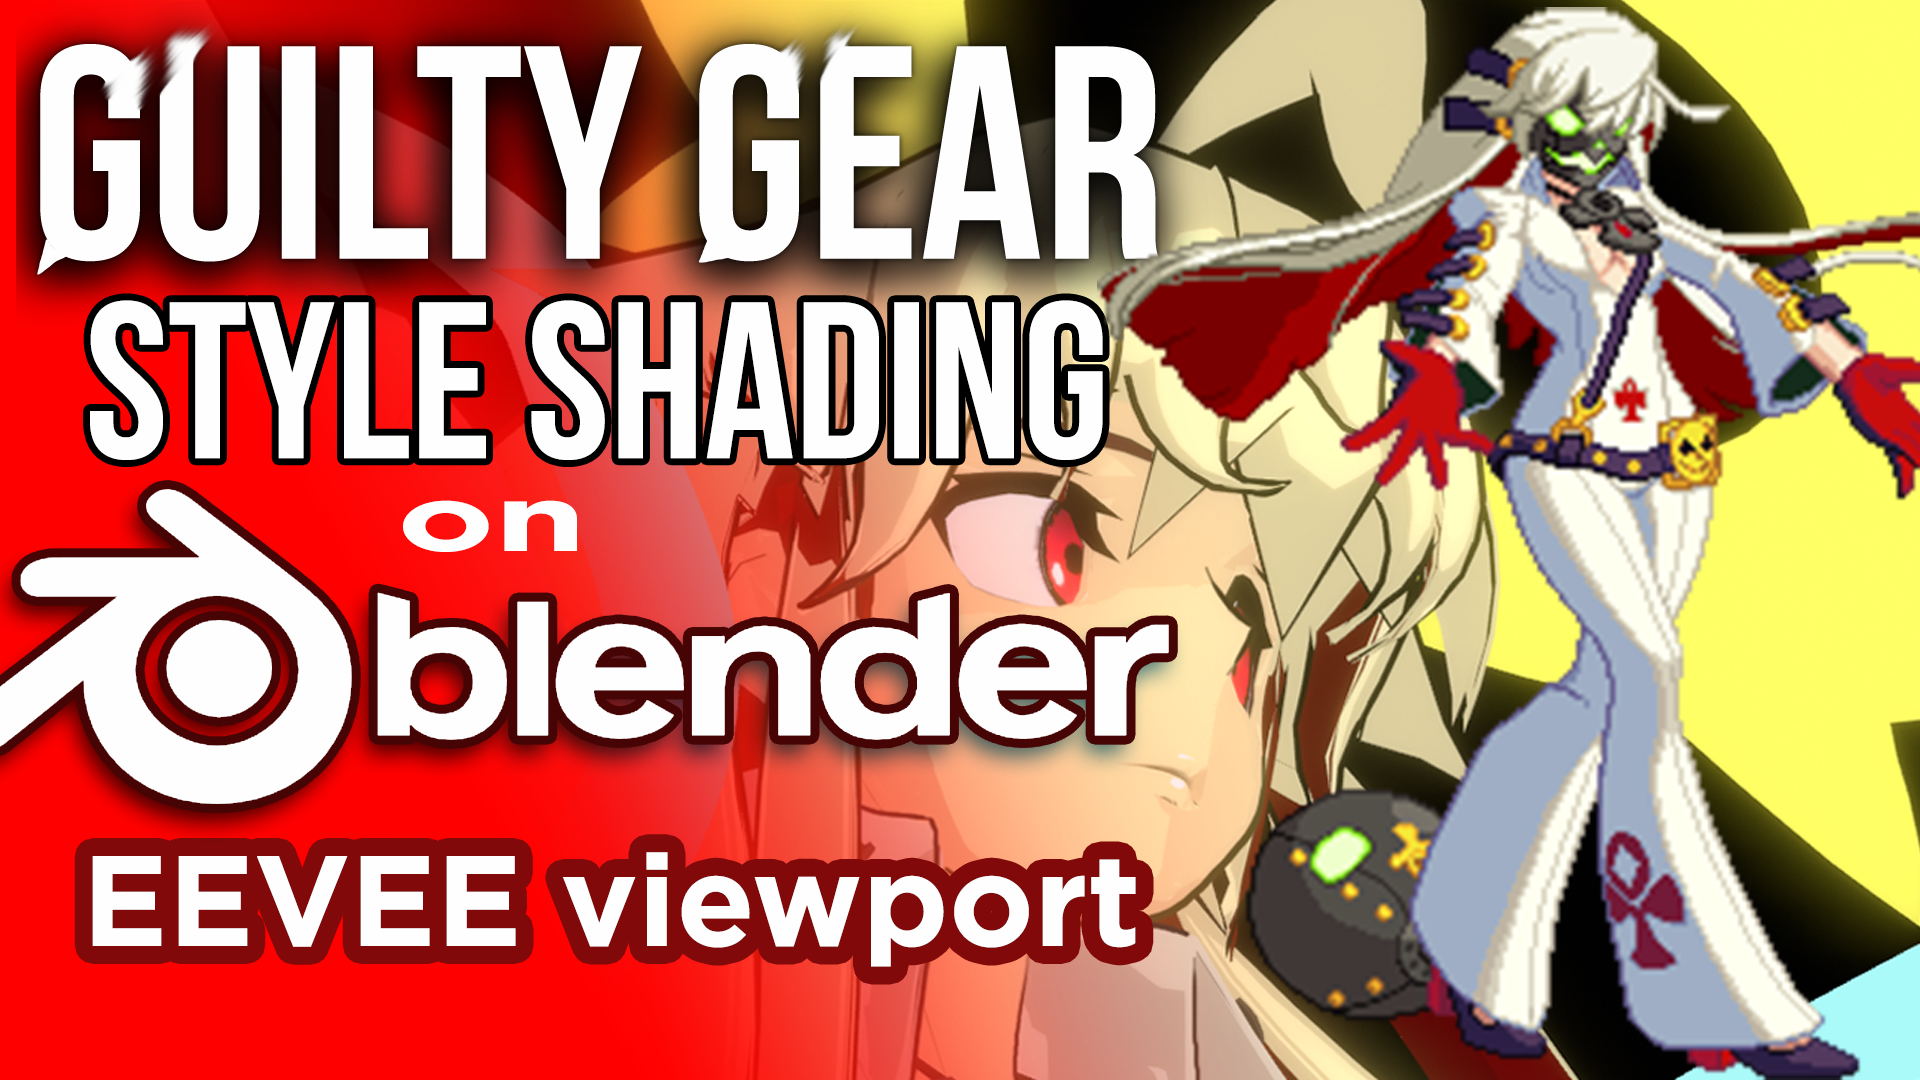
I am using my own experience and example on this model from Softimage in hopes that all what we will do later on Blender will illustrate the basic setups you´ll need to create for your own toon shading setup.
Here you can see the flat texture of the robot ball. We also created an emission texture. This is how it looked on Unreal. As you can see the UVs is a simple sphere. Guilty Gear is full of simple meshes projected into 2D for special effects in their cinematics.
Here´s a simple idea how to achieve that.
You can also create morph shapes and store them for quick exaggeration. All though as a general rule it´s always best to deform (scale) bones than running with a shape animated character. I personally like to test all my options.
All right, up to this point, we have constructed a simple toon shader using the toon shader node in Softimage to test our points. So lets put that into practice with Elphelt. We can already see the 2 levels of shadows and the highlight.
More over we notice that the AMBIENCE value of the scene is affecting the shader with OVERLAY mix mode.
And we have other common mix modes to affect the overall color of the character. You can also see how changing the light affects the face. We need to check out if the face has edited normals.
Defining normals for the 3d face
One very important thing to notice is that all character designs for closer animation have an almost flat face that ensures the light will definitely hit the surface at a straight angle. If you mark HARD EDGES on the edges of the jaw for example, you´re changing the value of the normals on the poly faces. In addition: marking hard edges as well as editing other high difference angles between normals will yield harder breaks on the facial lighting.
In Softimage there are tools to edit the normals. This is an addon that can bend the direction of the selected normal directions, either by keying the number in positive or negative XYZ. See for yourself.
My Name is Pierre Schiller. I´m a Blender Foundation Certified Trainer, and I want to thank you for watching this video. If you got questions, reach me through social links in the description below. Don’t forget you can get the complete video and assets on my Gumroad.
You can make a positive difference by sharing and commenting in this video. Also a lot of people have asked me how to get a simple toon shading in Unity. You may be interested in this article.
4 thoughts on “Guilty Gear shader in Blender 2.8”
Hey guys I just wanted to ask you when will you release the 4th part of the guide and if you are planning on doing some kind of special pack with all the parts on Gumroad ? Thanks a lot for your effort I love your works !
Hi. Patreons received November rewards including Part 4a of the Guilty Gear Stylized series. Part 4b will be created and released as a “full part 4” in January.
If you are interested in part 4a along with the other November Patreon rewards, you may acquire them once they are published in Gumroad, next week. There will be an announcement about it on the next video on the Youtube channel.
It was published for Patreons in Dec 2020 and general public in Jan 2021 https://youtu.be/aIA7tkd-M5o