
Blender’s eevee viewport can help you decide the look of your next toon shaded project. We will review the #GuiltyGear shading covering all you need to know to recreate the look in #realtime using #Blender’s eevee viewport. I will guide you from the Softimage techniques in which the original game was created all the way into adopting those techniques with Blender.
Get the complete video and assets on GUMROAD NOW:
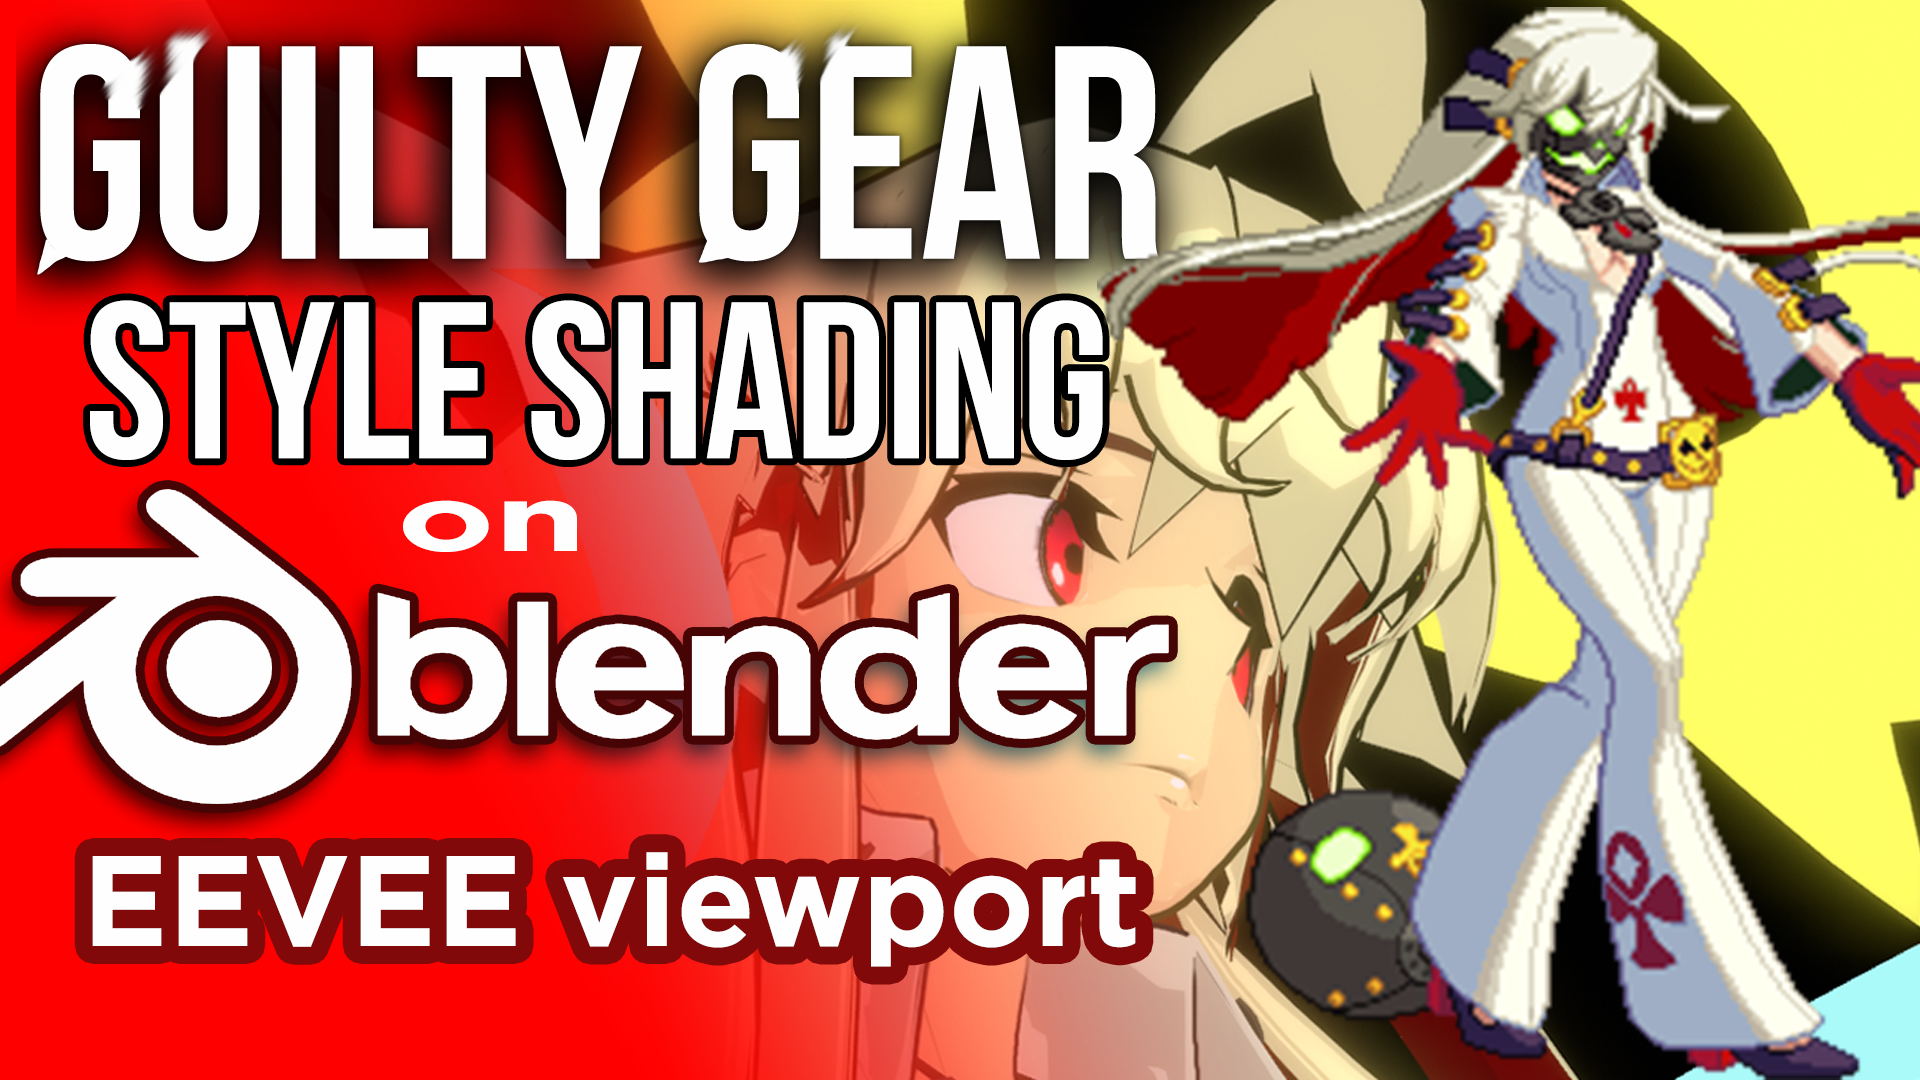
Guilty Gear Stylized Shading in Blender (Part 1)>>
Guilty Gear Stylized Shading in Blender (Part 2)>>
Guilty Gear Stylized Shading in Blender (Part 3)>>
This is the summary of what you´ll get from the PART 1 VIDEO on Gumroad:
Blender’s eevee viewport can help you decide the look of your next toon shaded project. We will review the GuiltyGear shading covering all you need to know to recreate the look in #realtime. I will guide you from the Softimage techniques in which the original game was created, all the way into adopting those techniques with Blender.
******* TOPICS COVERED *******
0:01 – Presentation
3:13 – Decal
8:08 – FX
9:00 – Emission texture
11:00 – Normals
14:00 – Modeling for flatness
15:00 – Blender tools and workflows
15:44 – Creating a pass shader overrides for After Effects
…and much more for the 48 minutes!
If you have any questions, please make them on the comment section here on this page. I hope you can create the next outstanding movie or videogame using these techniques in Blender with these tips.
Thanks!
Blenderコミュニティのすべての友人に感謝します。 あなたのアートワークで私にインスピレーションを与えるすべてのアーティストに感謝します。 これを可能にします。
Here´s the text transfer for the first 12 minutes (There is more information than this transcript on the ONE FULL HOUR complete video from Gumroad). Youtube video is on PAGE 2 of this Blog:

Presentation
Toon shading is my passion. I started reading Japanese blogs with Softimage toon shaders in Y2K, and I haven´t stopped since. Today on Schiller’s tips I´ll go into a deep review using Softimage and Blender to recreate the Guilty Gear toon shading style.
This video is but a short version of the analysis for the technique in the game. So If you´re interested in getting the full 1h video, I´ll leave the link in the description below.
Also, if you like this content, subscribe to my channel, hit the bell button and check out my instagram and artstation for weekly updates, videos, news and pictures of my CG works.
All right, so let’s get into all the tech core that will help you achieve better artistic-driven stylized toon shading on Eevee’s viewport.
Breakdown of a toon shader
The core on a toon shader is to define 3 basic passes: The flat shade color, the Shadow color and the outline color. There are other passes created for highlight control, Normal pass useful for relighting a character, a ramp pass and also the outline.
When I construct my toon shading I follow what japanese animation companies have done for years: using separated render passes to work stylization on post-production with a compositor like After Effects. You can also work on the open source compositor Natron. Click here to know more about combining Blender and Natron>>. Combining layers with different modes and opacity yield better results in post production for toon shading.
I want to address what really makes and breaks the Guilty Gear toon shading style.
Basically what this means is that the developers of the game used a High polygonal model for the HEAD and FACE only for CINEMATICS while using the same mid-poly body. When the gaming mechanics start the fight, the head model is then switched to a low poly head since it doesn’t require the extra polygons at camera distance. Pure genius!
On this video we will also cover other aspects that were not presented on the GDC on that year.
Game Developer Conference on 2015
Let’s start at the beginning:
The GDC of 2015 regarding Guilty Gear covered basic aspects of the style in Softimage. Unfortunately for the world Softimage was shut down in March early that year. You gotta now that Softimage has been one of the top choices for Konami and other Japanese companies for videogame development. Even Street Fighter 4 was created using Softimage.
The hardcore secret to toon shading is to have control defining the mask to let the light affect the surface. You can change the normals or you can use occlusion methods to define light and shadows in your texture. Controling the vertex normals is key.
This is the Softimage viewport using realtime shaders compiled, and it inputs a base texture and a shadow texture named “Sub shadow surface (SSS)” in the shader in multiply mode against the base color texture. You can also see they are multiplying the internal lines against the base color. This makes up for the basic shader.
Great news is that Blender can do that too, so let´s find out how.
SCROLL ALL THE WAY DOWN TO THE PAGE AND CONTINUE TO PAGE 2. THANKS!
4 thoughts on “Guilty Gear shader in Blender 2.8”
Hey guys I just wanted to ask you when will you release the 4th part of the guide and if you are planning on doing some kind of special pack with all the parts on Gumroad ? Thanks a lot for your effort I love your works !
Hi. Patreons received November rewards including Part 4a of the Guilty Gear Stylized series. Part 4b will be created and released as a “full part 4” in January.
If you are interested in part 4a along with the other November Patreon rewards, you may acquire them once they are published in Gumroad, next week. There will be an announcement about it on the next video on the Youtube channel.
It was published for Patreons in Dec 2020 and general public in Jan 2021 https://youtu.be/aIA7tkd-M5o