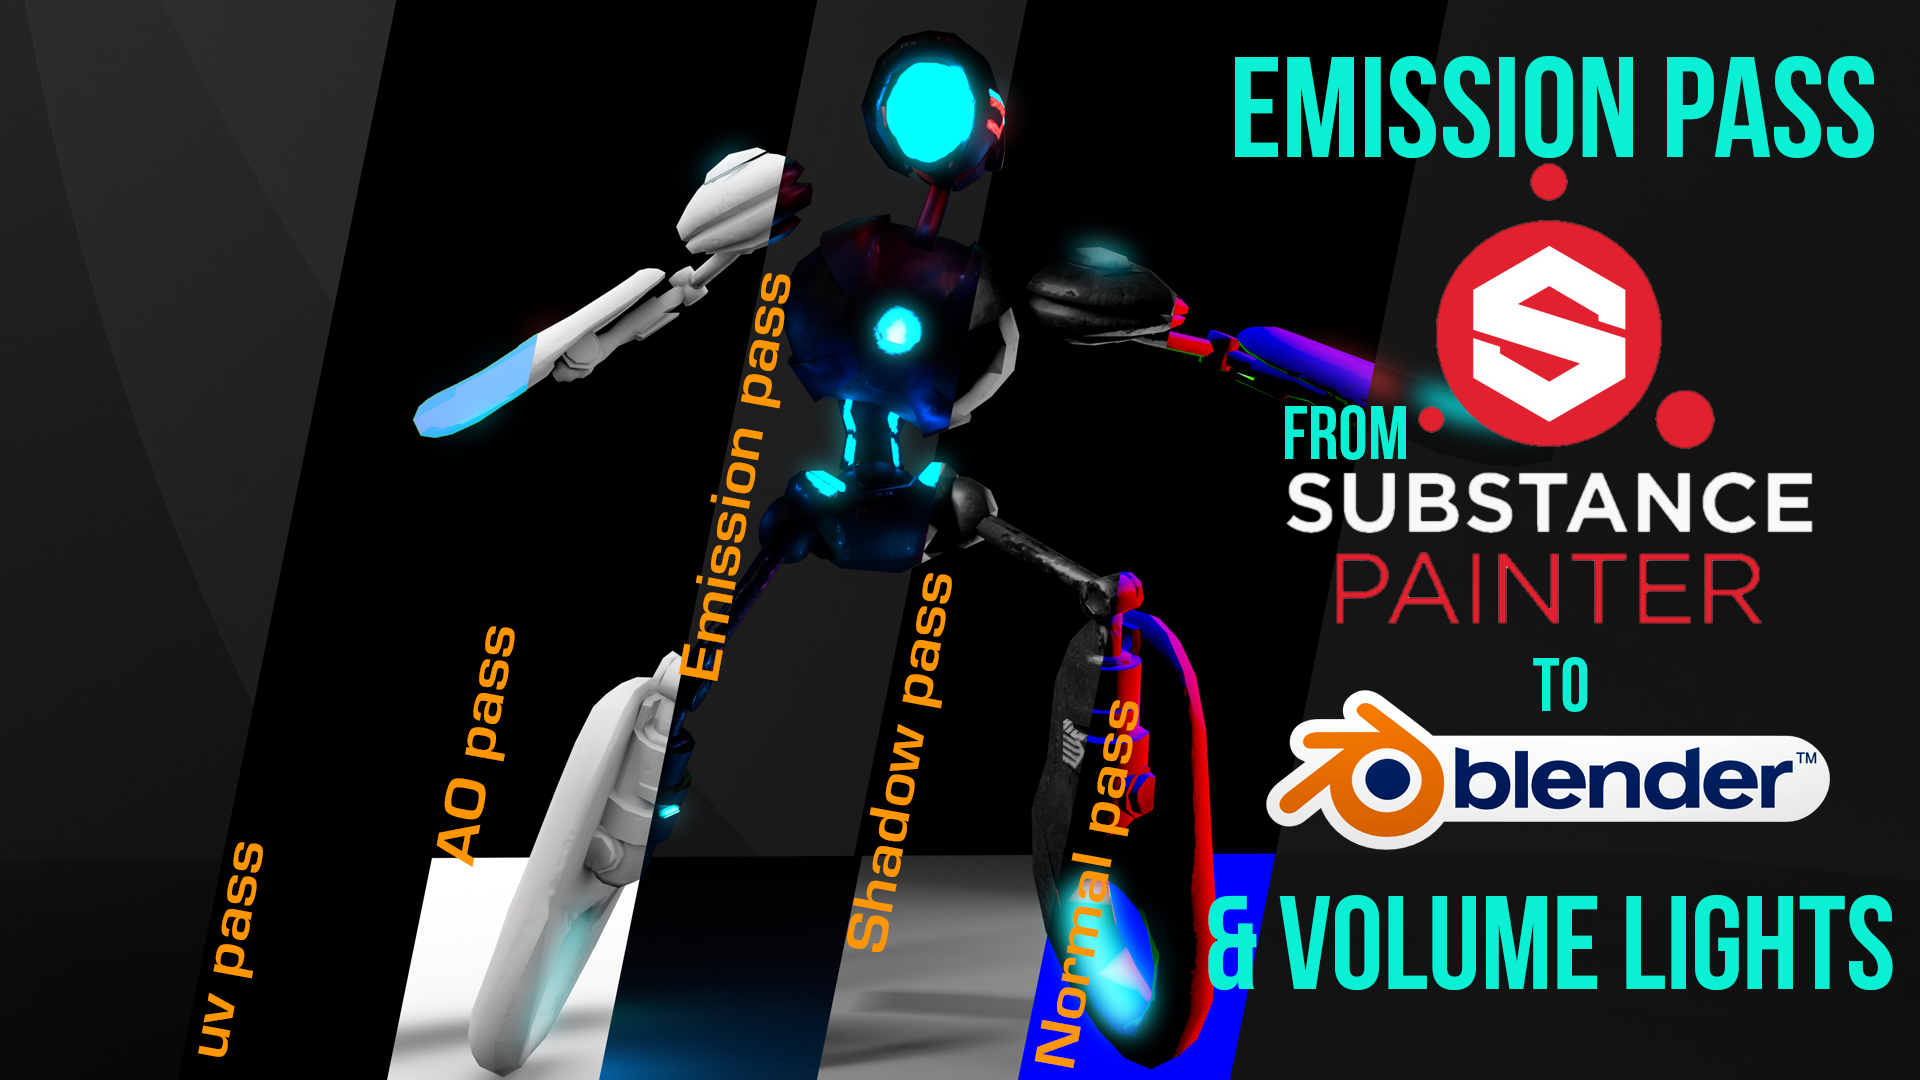
Volume lights on Blender are very easy to set and if you add an emission texture from Substance Painter into Blender, the results are stunning! This week we’re working on a crowd simulation render so I needed to create a 1K texture for this robot. The concept is created by me for the short 3D movie I’m doing. With the maturity of Blender 2.8 this project created on 2.79 is just a glimpse of what’s to come once the beta release on 2019 appears.
This process shows how to optimize the UV sets, how to combine them and distributing the 1024 x 1024 space efficiently using the GreasePencil tool (on 2.8 it will switch the name to “ANNOTATIONS” for all the interaction modes and editors).
I also use a personal trick for texturing on substance painter: I like to keep a separated file on Blender will all the individual parts of the character for further editing after I´ve textured the character. And I also like to create another .blend file with the entire character as 1 single mesh so I can export back and forth with all UV sets included between Substance and Blender. This way I apply the same material to all individual parts, but on Substance it’s just 1 simple – single – easy – to – paint UV set. Probably we should do a UDIM tutorial in the future, as well.
Once I get the robot into Substance it´s all about sprinting, by making a quick UV set and exporting it to see how the colors, masks, and materials will react to light. Once that stage is passed and I know how to correctly export all the textures to the correct folder, I go to Blender, set a new Principled Shader for the material, while selected: I press CTRL+SHIFT+T to bring the special “import PBR” texture. I select all the textures (normal, diffuse, roughness…) in no particular order, and they get arranged automatically into Blender. Nifty!

Finally I re-create a complete painting and detailing material in Substance Painter. I duplicate the materials to create variations for the red robot and blue robot. I export a .PSD file with the diffuse layers to modulate and save the EMISSION TEXTURES with red and blue variations. I export from Substance Painter selecting the CYCLES material preset. Save work on SP (Substance Painter)
Back in Blender we will setup our textures and a PRINCIPLED VOLUME shader on a cube. To view through the cube we can change the display mode to WIREFRAME. The density on the cube is 0.03 or 0.3 depending on the intensity of the light strength (around 500).
From there on is all about playing with the emission texture added to the principled shader texture from SP. I use the ADD SHADER node so it can also be computed as the emission map later on with the passes list.
Final recommendations:
- Open UVs properly on Blender. UVs are stored into Object Data > UV SETS on the property menu of the object
- You can use GREASE PENCIL to DRAW the boundaries of your sets if you have different objects, but they all share 1 UV space
- Export 1 single OBJ mesh to Substance painter with your UV sets to paint all at once, but keep a copy of your .blend file with all your individual objects. After Painting, you can apply the Substance texture to all individual objects inside Blender once again.
- Export a dedicated texture from Substance painter to photoshop to tweak the EMISSION colors. Save the .PSD as you may further tweak it later.
- Use ADD SHADER node on your PBR (principled shader texture) to add the EMISSION NODE driven by your emmit texture. Don’t forget to check the box on EMISSION PASS
If you like this setup, or would like to know more about it, please comment on the video or here on the blog, share and subscribe.
Thanks.

