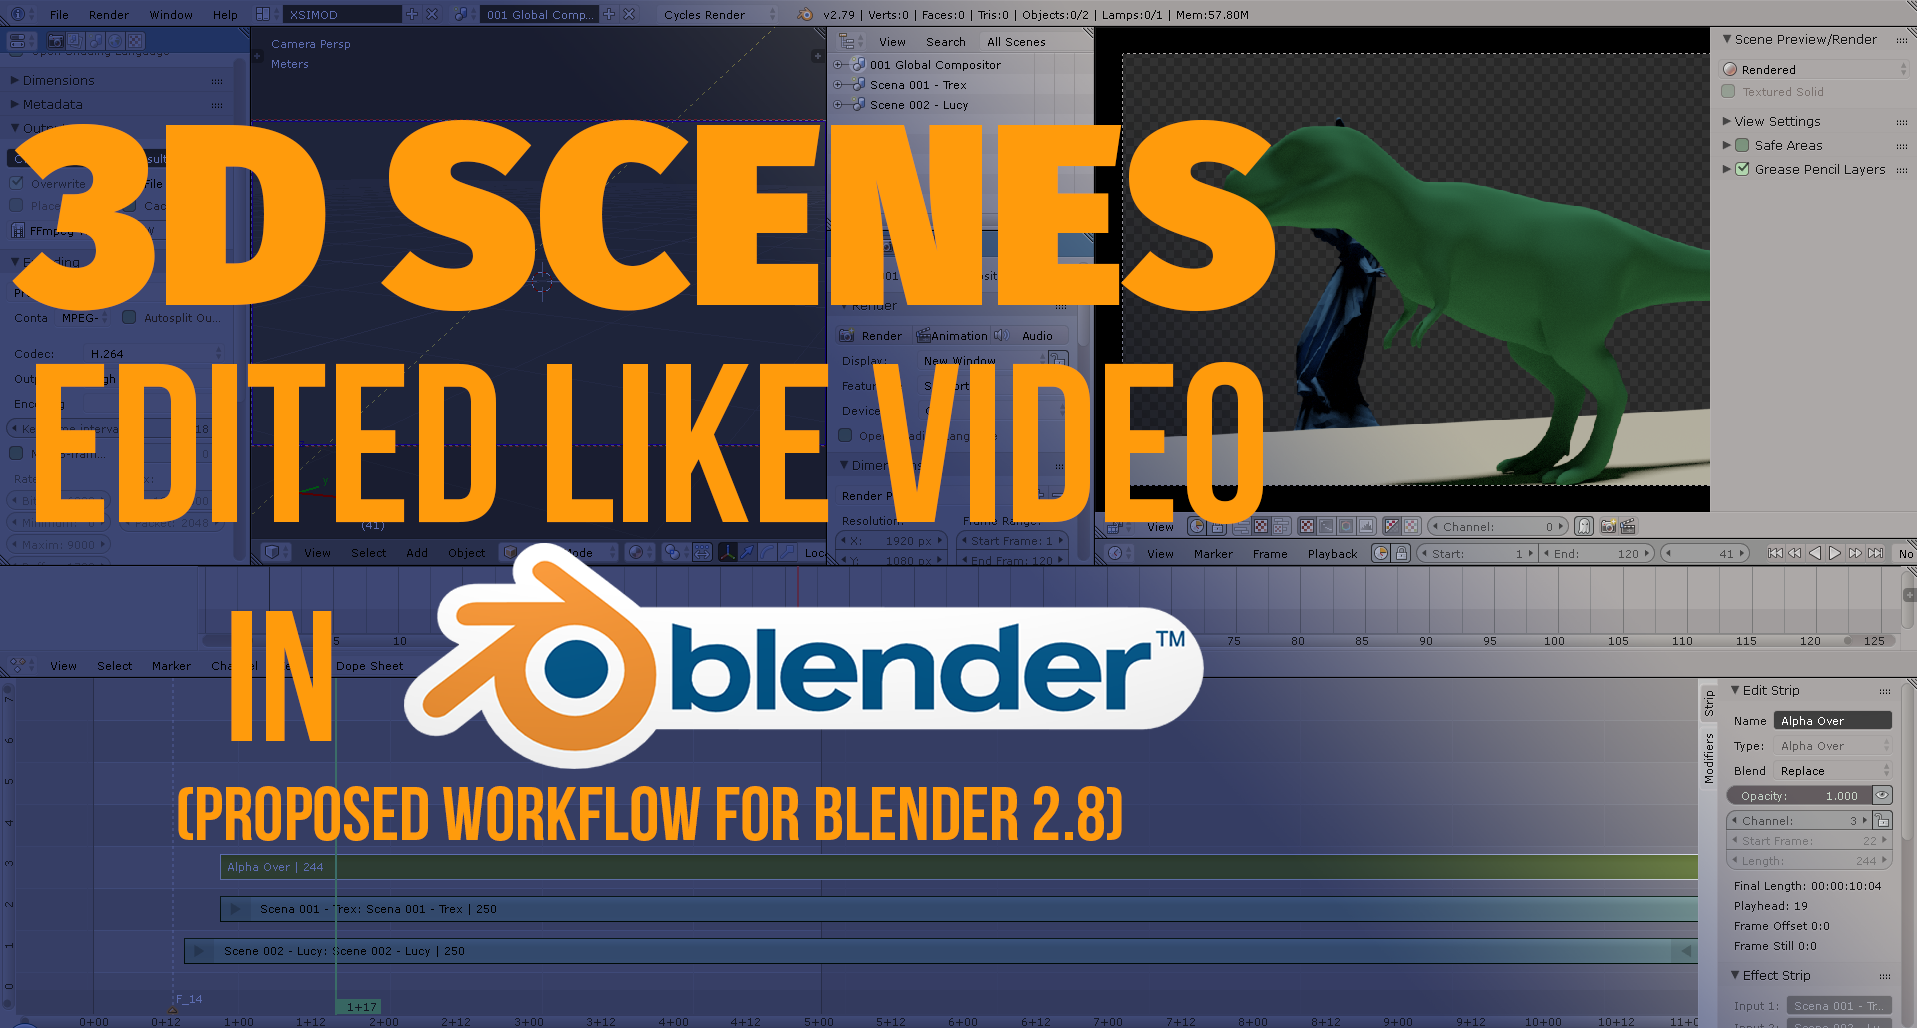
The Blender video sequence editor or VSE is one of the workspaces that may catch up your attention after Blender 2.8 version arrives in the last quarter of this year. You can edit 3D scenes in a video editor! This *proof of concept video* is the initial proposal for many of the observations I would gladly share with you in case you were wondering…”a video editor inside Blender…what´s it good for”? Read on, you might be surprised.
Integrating 3d scenes remotely for composition

Has it occurred to you that maybe there´s a possibility to make your team work in a remote collaborative environment to develop your animation series? And if it was possible, how could you implement it on your own setup? This blog post will present a suggestion for some of the ideas while I was experimenting with one of the most underrated areas in Blender: the VSE.
To setup your workspace you may copy it from the pictures below or scroll down the page and download it from pasteall.org (it only lasts for 5 months) and it´s free. In case you´d like to try it on your own (for your monitor convenience).
- Click the “+” Icon to create the new scene (to the left of your Render Engine selection) on 2.79
- Once your new scene is created you need to setup your render engine (in my case Cycles)
- On this new scene you´ll have your “container” to create a new light, new camera, new geometry (the scene comes totally empty)
- Take notice that on each new scene, your render samples could change.
- Once you create 2 new blank scenes, fill them with a simple geometry. In my case I used a Trex and a Lucy Standford Statue model. I also shaded them. Since each one of them lives in a separated scene, check the properties of the scene right below the scene window. You can also filter this with other Blender data to your convenience if scenes get heavy in geometry.
- VERY IMPORTANT! on the render settings of EACH new scene make sure you have RENDER>SHADING>Alpha mode set to TRANSPARENT or it will not work on your VSE strips. (3d scene clip). And also enable from FILM>TRANSPARENT

In order to quickly understand the file you downloaded or what you´re creating along this blog is represented in this picture:

PINK AREA: Global setting properties. It´s pinned for representing the RENDER parameters of the GLOBAL scene which is the scene that contains it´s own VSE where all other sub-scenes will be NESTED (imported as 3D scene strips/clips). You have a thumbnail to pin it on the left upmost part of this window. If you un-pin it, it will populate with any scene property you have selected.
2D/3D space: This is where the main compositor (let´s call him: an integration artists) can make quick changes into the composition. This is where he can append the files from other workstations and edit them on this space (which is Blender´s default startup space).
LIGHT GREEN AREA: This is the outliner so you can see what elements are created as datablocks for your current .blend file.
If you select or filter objects here, they will be displayed in the
DARK GREEN AREA: property zone from the outliner. This area you may pin to lock certain properties while you work on your scene (locally) or while you navigate to append another station .blend file to be integrated into your Global Scene.
GLOBAL COMPOSITION CAMERA VIEWER: This space is within the VSE icon. The main menu has an icon for this viewer which displays whatever is on the VSE timeline.
PLAYER: Every viewer has to have a player to check the sequence, if the space is too little you may scroll your menu by pressing an empty space with the Middle Mouse button and then DRAGGING left or right. You may also use your mouse while while you hover and then roll your wheel up or down to scroll this player´s options and buttons on the menu.
DOPESHEET: This is the most important space as to make corrections regarding time and animation for parameters or properties (location, rotation, scale, etc..) and this can also be tweaked with the graph editor by setting up a custom keyboard shortcut (there is no shortcut key by default, you´ll have to create one).
VSE / COMPOSITOR AREA: This is where all the hard work will be accomplished. The VSE has color correction modifiers (press N) and an extra panel will pop up so you can have control of how the video track should look (they call them strips). So you can add sound strips, video strips, image strips, 3d scene strips, and I´m not sure but I believe it can also work with the tracker… (I might have to check).
The conclusion for the VSE proof of concept to integrate different collaborative stations for production, is that on the next version (Blender 2.8) the VSE could play a significant role as it removes the need of RENDER image sequences, there for there´s no need to set each individual scene in alpha mode nor setting up “render quality” (SHADE MODE RENDER) since EEVEE (the realtime engine) will play graphics in realtime with the help of your GPU.
Case study
If you could set 1 camera per sequence (be it on 2d or 3d), since you have an unlimited 3D space in Blender, you can set many cameras in the VSE on your local machine only to quickly change shots for your animated production. Now, if you can import (append) different scenes (SCENE A, B, C, D in this picture) from different workstations you can display them just like a PAGE LAYOUT PUBLISHING software. In this case you may setup your global render settings and quickly generate JPG or PNG pictures correctly named for printing later on (in case you would like to do a physical presentation or room storyboarding).
This way a team could collaborate remotely but the master compositor could arrange cameras in one global 3d space scene. If you watch the video around minute 10 this is the example I am comparing when I mentioned this could be layout as a book:

Get the file for this proof of concept for Blender 2.79b here for free (it only lasts 5 months) >>
So after reading this post, do you think it´s possible this proof of concept could grab the attention to start thinking into a more collaborative environment for Studios using Blender? what are your thoughts? Share this article if you´re interested and subscribe with the notification bell.


3 thoughts on “Blender Video Editor – Integrating 3d scenes remotely for composition (proof of concept)”
In 2.79 a scene strip can have a camera override, press N to see the VSE properties region. Though this is not animatable, so to change cameras you have multiple scene strips, each with a different camera. What isn’t easy is to precisely set is the start and end frame of the scene strip.
That dear friend would be awesome, I usually struggle a lot to create some compositions with footages, and working with two different scenes it’s just lame. When will be available hahahaha?
I have seen some really good scripts on Blender that help convert markers in a timeline scene in CAMERA CUTS on the VSE. There´s a lot of potential on the Video Editor Sequencer. The Blender Foundation is actually looking for a core developer, and VSE attentiona dn development was TOP voted on the Blender Conference as -PRIORITY DEVELOPMENT- afterEEVEE. Good news all around. Maybe Intel is also interested on that as well with their new i9 cores.