
Today I came across this link which I think it’s a valuable reference for 2D character design.
I often get the question: How do you make a 3D character look like a 2D hand-drawn character?
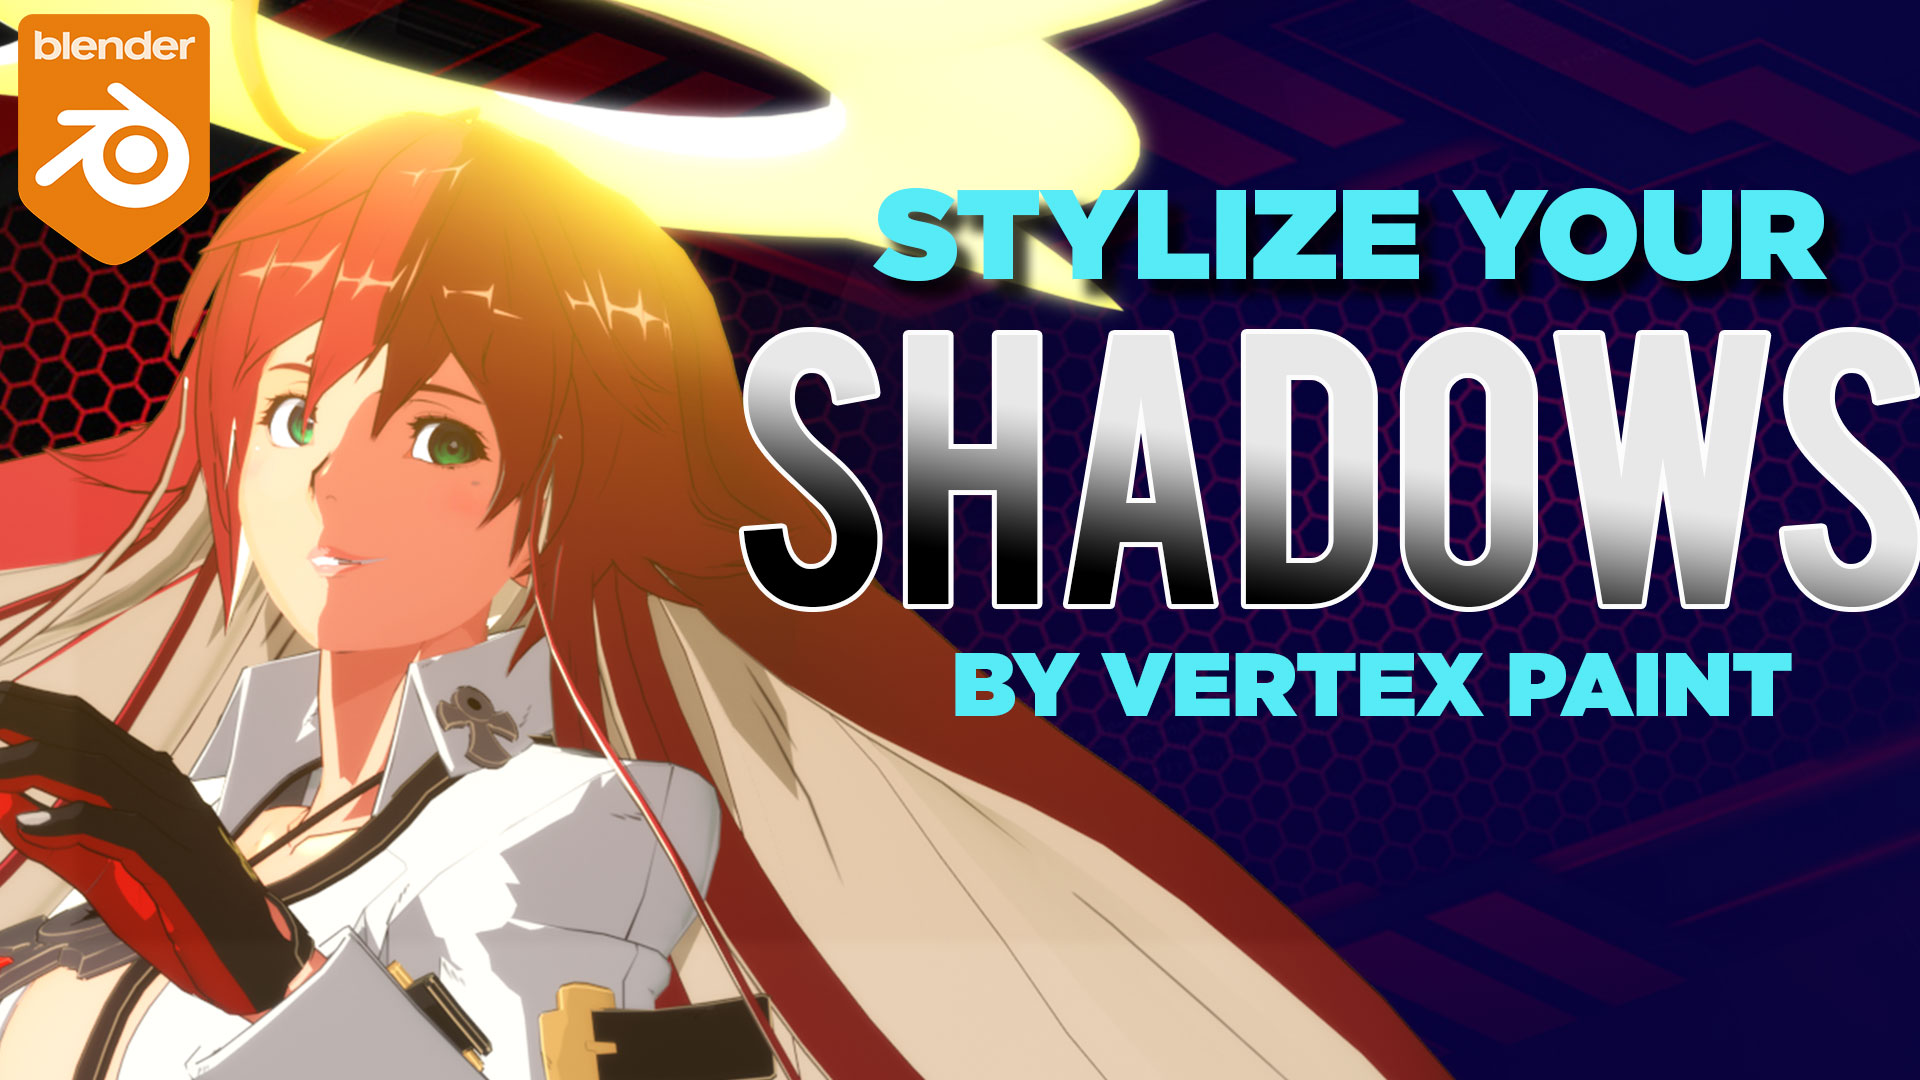
I’ve dedicated my entire activemotionpictures channel and its segment “Schiller Tips” to reply to that question in 300+ videos. But Let’s summarize 5 years of stylized modeling, shading, and rigging experience in Blender into these 5 simple points:
1. Star with a 2D Drawing!
The concept art for your 2D character is the key to great character design. Aim for simplicity and make your character’s body “hero” pose silhouette clearly distinguishable, then proceed to 3d modeling it.
2. Wiggle the line
Use the solidify modifier with inverted normals with a new material applied in your 3d mesh with a texture that is jagged (scribbled) so that your lines “break” the “perfect trace”, even adding a “noise” with subtle distortions will go a long way. If you’re using the “Outline by Normal” method, you can even wiggle the line using a displace node with noise in your favorite compositor (AE or Nuke).
3. Body volumes are not constant
If you are looking for a 99.9% similar result to a 2D anime toon look in your model, bear in mind that the way you rig your character impacts the way the audience “feels it” in front of the camera. Try exaggerating the facial or body poses, and then “exaggerate them some more”. When you use Rigify, there are secondary blue-colored controls that can be scaled and distort the body as you wish.

4. Camera language
I’ve learned this very earlier in my career as a 3D animator: The camera action is your first actor! That means that you should pay attention to camera animation in Anime, to make your scenes stand out. Sure, a “closeup” and super closeup to the eye of the character can look cool, but if your story isn’t building up to a moment like that, it will only feel like an overly-used effect. Do you want to make an impact? Build the moment before it, and go for that extreme camera shot!
5. Shading and composition
As you know, since 2019 I’ve been constantly working on a wide variety of shading methods, all explained from the ground up so you can understand the building blocks in Blender. But I can confidently say that the inner line and the external outline in a character that only has a white texture, can help you define if you nailed points 1 and 2, 99% of the time. After all, our eyes are used to see “linework first” when we first sketch our characters.
6. Light and shadow
The human eye is so accustomed to recognize “black lines against a white background” anywhere, and immediately associate them with “plain media”, a.k.a. “drawing on paper”. Therefore if you want to succeed with your OC (original character) 3d models, create a good contrast between light and shadows. In this following video, I did a review about different case studies as I’ve created different stylized models, and we’ll see how that impacts even a wide-recognized model like Jack’O from Guilty Gear Strive when shadows and light are not done correctly
Try these points on your own creations and share the picture URL link in this thread, to see the results and continue our journey into Anime production using Blender.
Cheers!
-Pierre.