
Blender 3.0 has a fantastic addon to control parameters and properties from your ANDROID PHONE. You will need to install the AddRoutes addon (direct link>>). This addon only works in Blender 3.0. There is no support for 3.1+ at the moment. There are other technical-minded artists which I have contact with, who are working on a post 3.1+ OSC addon version, so I will be happy to test those versions in the near future.
OSC stands for “Open Sound Control” which is a protocol for sound devices (More information>>). It’s the evolution of “MIDI”, and as such, it also has the capability to receive and send more data commands to any OSC receiving/transmitting devices.
Blender can “wrap” those signals into DNA property commands through a “route” or a “variable” that you’ll pick up from the Blender System Console once your Android (or iOS) phone emits it using your own local WIFI/Network. This is in summary, what we’ll set up in the following steps.
This article was possible thanks to the help of @Zhihao12291552 on Twitter, and his blog>>, who kindly offered his help to set up Blender OSC + Android on PC. I have been an avid user of MIDI and OSC controls back in the Softimage era , and it’s marvelous to continue to use OSC in Blender.
STEP 1: Install the OSC app on your ANDROID PHONE
Go to the Android Play store and search for “Multisense OSC“. Install it on your phone.
At the moment I am using a Motorola Z4 with Android version 10 and I will be capturing my phone screen using ScreenStream app (you don’t need to install ScreenStream)
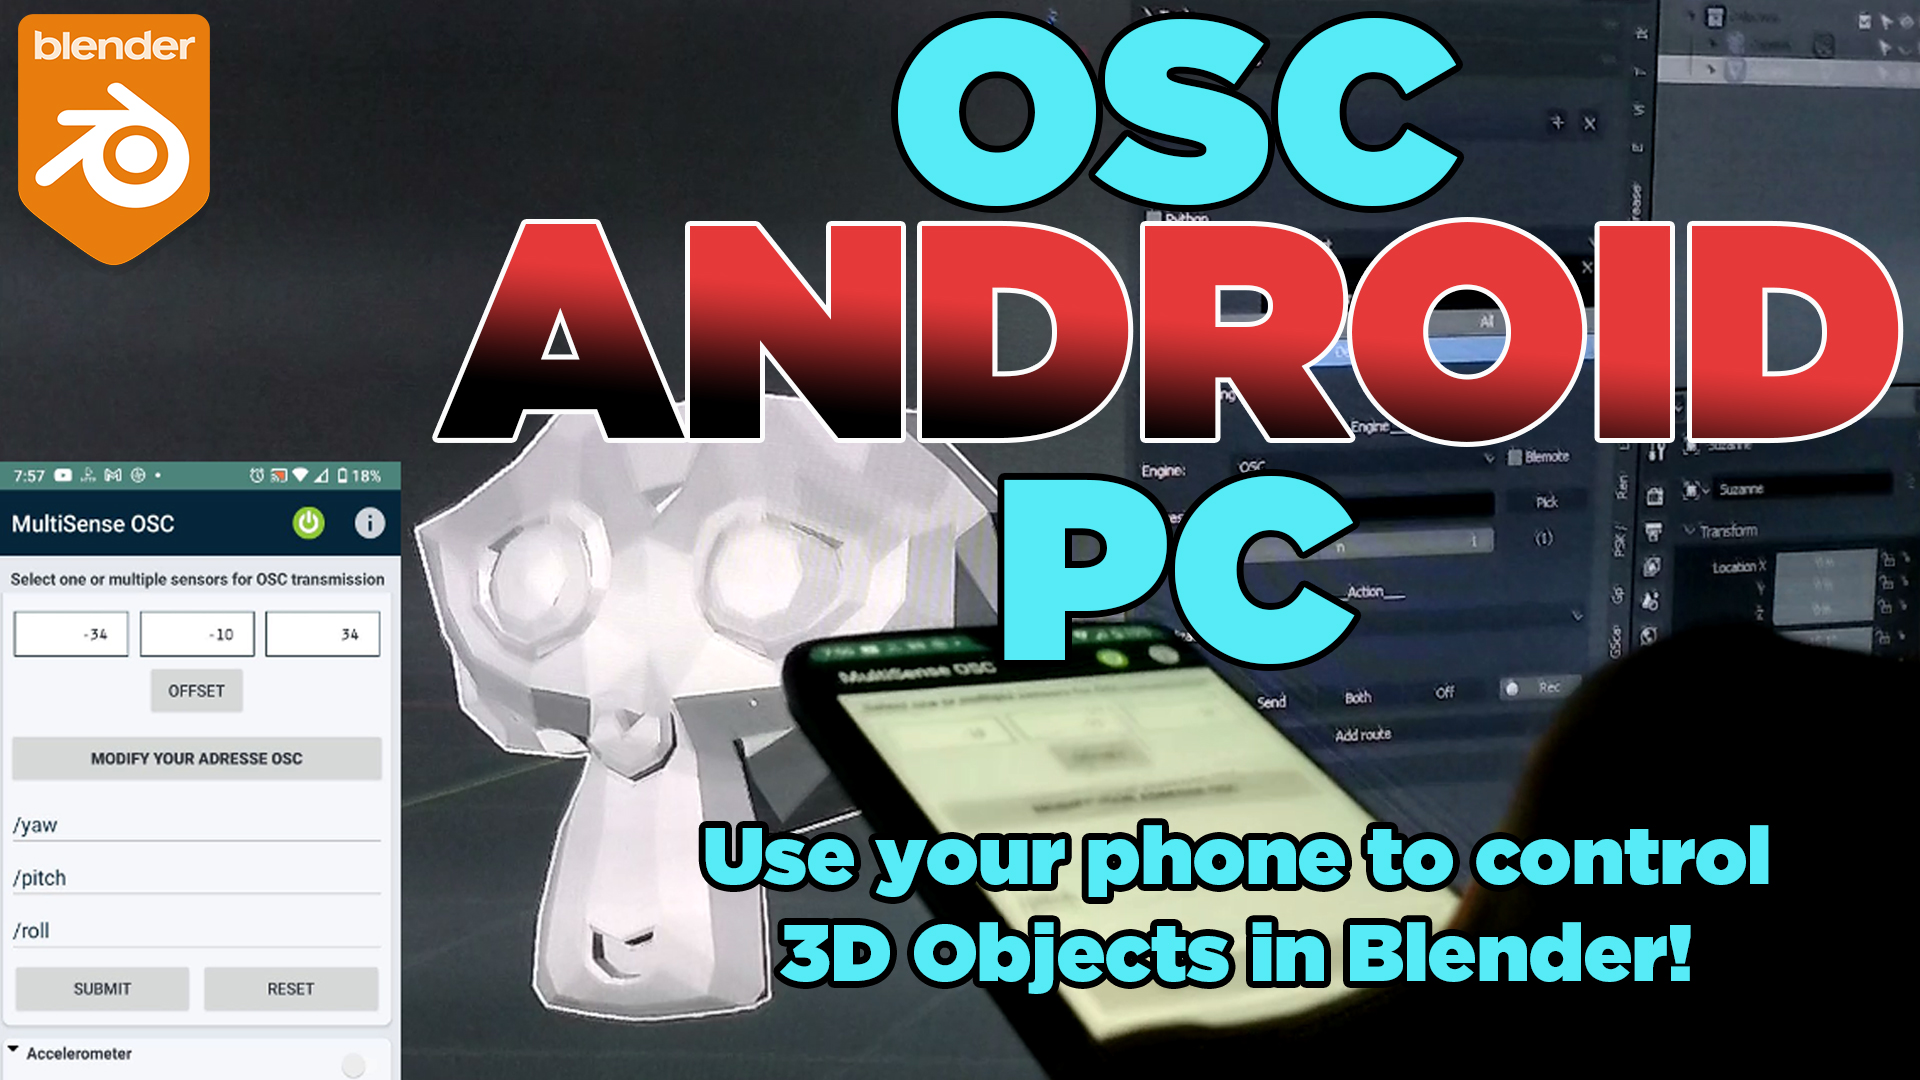
Once you install Multisense OSC you’ll see a screen like this on your Android phone. You will need your PC network address to continue configuring it. We will come back to this later:

STEP 2: Install the AddRoutes addon in Blender 3
Make sure you are using Blender 3.0. Download and install the AddRoutes addon from JPFep.net>>.
Activate it in Blender from EDIT>Preferences>Addon>Install>(target the addon), and check the box like this:

STEP 3: Configure AddRoutes to listen to your PC IP address
At the bottom of the addon, you need to configure your PC Ip. The “Destination” box is expecting
your computer’s network address. To know your computer’s IP address, right click over the WINDOWS bar button, and select “Windows Powershell (admin)”, then type “ipconfig”.


find the IPv4 Address. I highlighted it in green. You’ll see some numbers in this format 192.XXX.XXX.XXX.
Please make sure the number starts with “192” as it is the common local protocol network for your PC in the case is it connected to your router via a LAN cable.
Write those numbers and re-type them on the “DESTINATION” OSC System Settings in your Blender AddRoutes addon configuration.

Save the addon’s preferences.

STEP 4: Configure your OSC Android app to listen to your PC IP address
Back in the “Multisense OSC” Android app, you need to type the Host IP address (your PC IPv4 network address) and use the port number 9001 from the addon, (which is the INPUT port in Blender in the Add Route addon’s preference).

Click on “NEXT, and if your IP (PC network address) is recognized, you’ll arrive at this screen in the Android app:

Now, we need to signal the application what kind of properties we want Blender to receive. I will activate Gyroscope, Accelerometer, and Orientation. Once they are active, please click on the “POWER” button at the top right corner of the app. You’ll see something like this, and your application is ready to transmit OSC signals to Blender. Yey!!
NOTE: MultiSense OSC will treat your entire phone as an INPUT device through the marked parameters (Gyroscope, Accelerometer, and Orientation properties). It doesn’t have an interface for you to push buttons and send signals, nor does it have dials or any other configurable OSC user interface buttons. We will configure all of that once you understand what basic OSC commands can do with Blender.
Notice there’s a drop-down arrow on each of the parameters. Explore the ORIENTATION drop down arrow. Also, Activate ONLY the “Orientation” parameter for now.

STEP 5: Setup Blender to receive OSC signals
Go back to Blender, on the 3D viewport, press N, to get the panel, scroll down to Add Routes, and open the OSC config tab. Make sure all the previous IPv4 network numbers are correct from your own PC network address. DESTINATION should contain your PC IP address. LISTEN should be at 0.0.0.0 to listen to any device transmitting OSC signals. Also, activate the checkbox near 9001 (to the right).

TROUBLESHOOTING:
The first thing you should check is if your 9001, and 9002 ports are BLOCKED by some other application or addon in Blender. In my case, I UNINSTALLED and REMOVED the Sketchfab addon for Blender. Closed and Re-opened Blender to make sure the port was available once again.
To make sure you are receiving OSC data in Blender from your Android phone, activate “Debug(!)” (make sure is checked in the AddRoutes addon), this way it will show the OSC signals in the System Console.
Go to the top menu in Blender>Window, and click “System Console”. You should be able to receive OSC signals from your phone after you activated the correct IP of your local PC network address in the Destination 9002 port. Notice how only the 9001 port is using a checkmark.


If you do not see the OSC signals in your Blender System Console
- Turn off your antivirus
- Turn off your firewall
- Close Blender
- In the windows search button, type “Firewall”. Search for BLENDER 3, firewall properties. Please watch the following video, to learn how to activate and deactivate permissions. Blender should have all permissions on the firewall ports.
Once you’ve found out which Blender version (version 3) on the Firewall list needs to activate all permissions, apply the changes, close the firewall settings, Open Blender 3 location folder, and run (start) Blender as ADMIN (right-click on Blender.exe ->Run as Admin).
✅ Now you should open the System console in Blender and see the OSC commands being received.
If you successfully see your OSC commands being picked up by the system console, proceed to turn on the FIREWALL. If you continue to see the OSC commands being read on the system console, proceed to turn on the Antivirus. If you continue to see the OSC commands being read on the system console, close and re-open Blender. You should continue to see the OSC commands after reactivating the Antivirus, Firewall, and the Restart of Blender.
Let’s continue to the next part of the setup…
If you continue scrolling the tab downwards, you’ll read the “ROUTES” tab. Click on it and the property panel should open with NO ROUTES, we want to add those from the transform properties of an object.
Create a Suzanne (shift+a>>monkey). And go to the object’s property (square icon) and look at its transforms. We want to do our first simple test by “routing” the X rotation of this object.

Right-click over the Rotation X parameter, and from the pop-up menu, select “CREATE REALTIME ROUTE”

You will notice the ROUTE tab has now been populated with its first parameter to listen to:

Ok, we finally have a parameter to listen to. Please pay attention to the green lines and the orange lines.
The green line from ROTATION X was added as a ROUTE #0 property in which Blender is going to use an OBJECT with the item (container) Suzzane.
Right below we can read “____ENGINE____” and we notice it is set to MIDI (notice the orange circle). Change it from the drop-down to OSC, please. Like this:

Notice how the parameters changed. They now indicate a FROM 0 (zero) and N (1). What are these numbers? In the AddRoutes the X,Y,Z axis are represented by numbers 0 (zero), 1, and 2; meaning:
- X=0
- Y=1
- Z=2
We also have other representations for properties, colors, values, etc.. but for now, let’s just stick to the basics, and what these numbers represent.
Since we created a ROTATION Route for X, we see that reflected in the N (port) channel 1, but with an input signal of “X” (zero). That’s why we read: From “0”, n “1” below the Address item.
Right beside “/blender” route, you’ll see a button “PICK”. That button will automatically “listen” to any command you send from your phone to Blender. But we will get into that into a more advanced tutorial. For now, we are doing baby steps for this simple setup. For now, let’s go back to the Android Phone and turn off the power icon button at the top right.
Roll down the ORIENTATION tab (orange circled arrow):

All the parameters corresponding to the ORIENTATION signal for OSC will unroll. By default, you will read a longer name in each one of the names similar to this: /OSC/MultisenseOSC/Yaw
Change the names starting with the forward-slash (/), to something simple, as you see in the picture:
- /yaw
- /pitch
- /roll
Yaw corresponds to Z, Pitch corresponds to Y, and Roll corresponds to X. Notice those are the AXIS colors in Blender, as well.

Don’t forget to turn on the ORIENTATION parameter with the slider button. Then, place your phone on a planar surface (a table or desk) and click OFFSET. Then, turn on the Power button at the top right of the interface. Once you rename yaw, pitch, roll, click on SUBMIT.
All right, you’ve configured the OSC commands (variables) from your Android phone to send instructions to Blender. Let’s go back to Blender…
In Blender, locate the ____ENGINE______ tab, set it to OSC. Type “/roll” variable in the “Address“, like this:

Finally, click “RECIEVE”. Your phone should now drive your Suzzane, Rotation X parameter. Turn your phone like a screwdriver motion towards the computer screen, this should show the object “rolling” on the X-axis.
Now that you have your OSC commands working correctly if you change the “FROM” number from zero to 1, you’ll be switching the object’s command axis from X to Y. If you change it to “2”, you’ll be driving the Z-axis with the “roll” parameter from Android (when you turn it like a screwdriver motion). You can also STOP the commands, by clicking “off” on the ____ACTION____ section of the addon. Change the “/roll” to “/yaw” and now you can spin the phone in its axis (like a disk) and turn on “Recieve” to see the changes in Blender. Experiment with the “From” numbers and the OSC variables!
This concludes our “baby steps” for the OSC setup with Blender 3.
If you have any questions, please type them in the comment section below. Thank you for sharing this, using the social buttons.