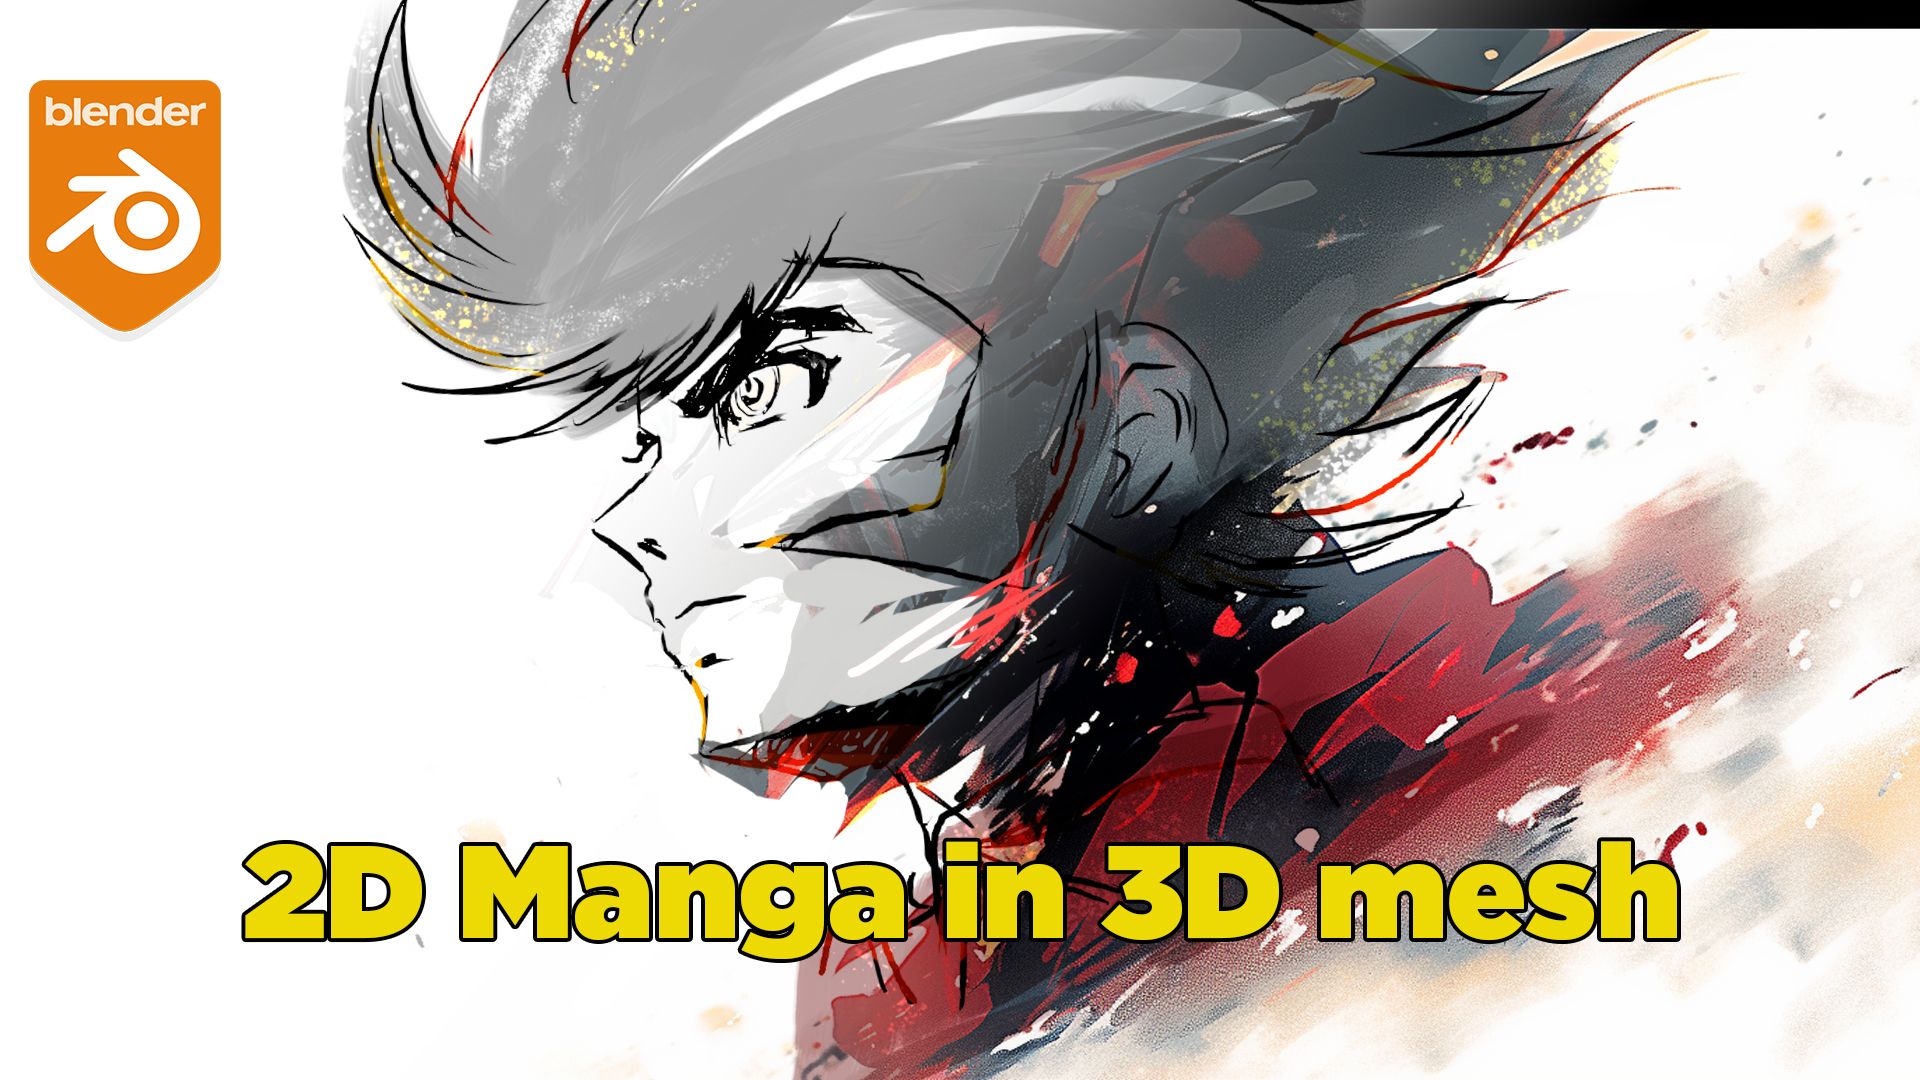
There is a lot of potential when you combine 2D illustrations with the manga style and 3D volumes inside Blender. One such obvious advantage is that you can plan how to 3D sculpt your model’s face. Similarly you can also plan how much framing of the face of the character you’d use in a panel, or quickly do different composites using your sketched facial features from your character to get dramatic angles with the camera FOV. Given that you are truly using a 3D camera and all its properties, combined with Blender’s realtime viewport, the possibilities to create stylized manga volume illustrations are great!
Basic rundown
In Blender, you can create a 2D grease pencil object and sketch on top of a 3D object. This is how you’ll do it:
1. In the 3D viewport, press SHIFT+A and add an “Empty Grease Pencil object”. Press tab and switch to “DRAW MODE”. In the Grease pencil Layer properties, create 2 layers: Stroke and Sketch. In the Materials tab create 2 materials: Black and Sketch. Press tab, and exit Draw mode into Object mode.
2. In the viewport, press Shift+A, select a sphere. With the sphere recently created and selected, press F9, and change the segments from 32 to 72 segments in the floating window. You can press tab, to “enter” the value of 72. This sphere will be helpful to deform the surface in a flexible way using the sculpt tools.
3. Select your sphere and switch to Sculpt mode, use the Grab, Smooth and Flatten brush to create a basic head shape like the video shows in the starting point. You can press 1 or 3 in the NUMPAD to change for front and side views and refine the jaw.
4. Select your grease pencil object in the outliner (rename the object pressing F2), and move your mouse over the viewport and press TAB, select DRAW MODE. You need to have the “pie menu” active from Keymap in your User preferences.

5. You need to the origin of the strokes in the top bar of the Grease Pencil options in your main 3D viewport to either 3D cursor or SURFACE. Make sure that if you use surface, you type a very close value to the surface like “0.015”.
And that’s all you need to start sketching your 3D manga character in Blender’s grease pencil.
Incidentally, you can also change how thick the brush is, change colors, add textures to the strokes and much more.
I hope this tutorial gets you across what you need to get started into making depth illustrations in Blender’s Grease Pencil.
This will be part 1 before finishing this character completely in 3D. If you’d like to receive this completed model and maybe support this project, join as a Pledging Patreon.
Cheers!
-Pierre.

