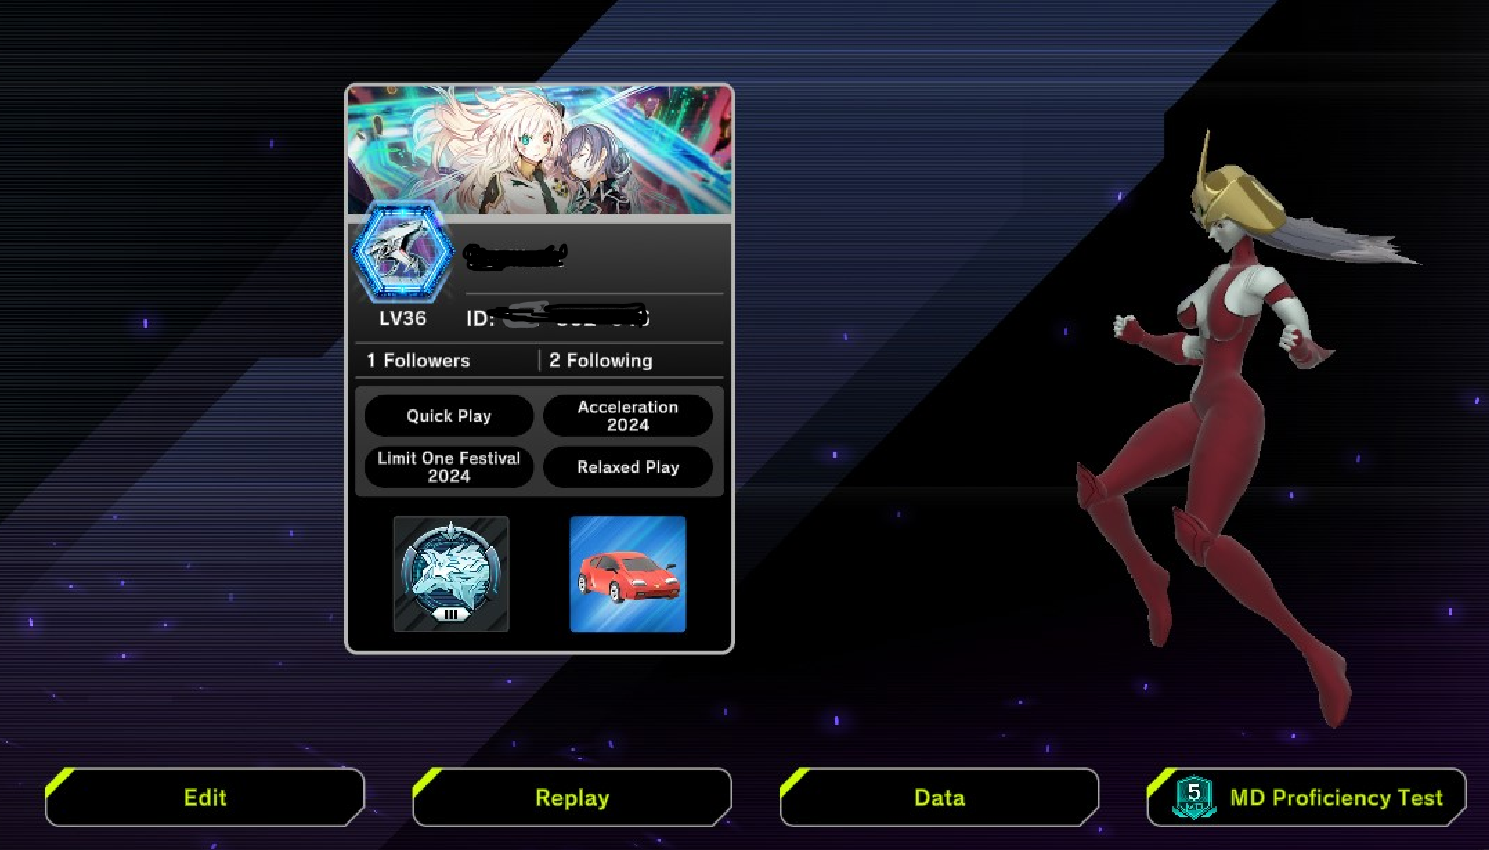
LET’s START! Identifying a .cab (container file) with the 3D mate you want to replace
In our case, we will replace the car 3D mate. To unlock it, you play Master Duel and Special Summon a monster 30 times. After you’ve unlocked it, close the game. Open the game’s directory on your PC using Steam by right-clicking on the game’s title>Manage>Browse local files (generally: C:\Program Files (x86)\Steam\steamapps\common\Yu-Gi-Oh! Master Duel\LocalData\[alphanumericFolder])

To find and see the asset number you want to replace you’ll need to have AssetStudio installed. There’s an extensive post about that, DM me if you’re interested.
The 3d Mate “Car” name for .cab file is b19b6ccf. The first two letters identify the folder which is located inside the root directory of the game. In my case: “C:\Program Files (x86)\Steam\steamapps\common\Yu-Gi-Oh! Master Duel\LocalData\ba53bff0\0000\b1“
Use AssetRipper. It will open a web browser. On the loaded page, click FILE>Open file>target b19b6ccf.

The View Loaded files big button turns green, that’s your signal everything is ok. Next: Click on EXPORT>Export all files.

Choose a directory to export the Unity dependencies and project. In my case, I chose “YGO_Car_Mod”.

If everything went Ok, you should see your chosen directory populated with the source files. We’ll use those later. You should also check the AssetRipper log cmd window. Pay attention to the highlighted names, those will be important in the future.

Our most important target to change the ingame animations is the V00006_Controller. That’s a Unity Animation Controller file. The next step is to Open Unity, and import the .FBX you exported from Blender (the .fbx model needs to include at least 2 animations).

Create a blank 3d project in Unity. Once it launches, import the .FBX file with its textures. Select the .FBX and in the inspector>MODEL, choose: Normals-import. Meshes>Read/write enabled.

If you expand the FBX model, you can see 2 animation clips. The names can be modified in Unity. We have “V00006_Model_idle” and “V00006_Model_lose”. Drag and drop to this project, the car’s Animation Tree. We’re going to replace the default animations of the car, with the animation clips we have.
Expand the .FBX asset, and select both animation clips (the cyan triangles), and press CTRL+D to duplicate them (and to take them out of the FBX fbx asset) so they become available to use as a separate asset in the project. Select your “idle” animation, and in the inspector, choose “loop”. This will make sure that on the “Normal” state, the animation is always playing as “idle” looping.

Select the “V00006_Controller” animation controller. The behavior tree should open. Select the “normal” state.


Click on the dot beside the “motion name” and target the “idle animation clip” of your model. Alternatively, you can just drag and drop the triangle icon for the animation clip directly into the name of “motion”. Select all other instances of the behavior tree (Damage, tap, entry, shop, tap1, tap 2, profile, and outgame) and replace those animations with the animation clips of YOUR 3D model.
Press “play”. The Normal state is the first to trigger, you should see the model move in the GAME tab. Stop the game, and select another behavior, right click on it, and choose “Set as Layer Default State”. Press play again, and this time, the selected behavior should play in the game viewport tab. If everything is ok, let’s go to the next step.
Select your 3D model (in our case, Burstinatrix) and right-click>”Create Empty Parent”.

Name the Empty Parent just like your model. In our case, I’ll use the same name “Burstinatrix_v01” but it is highly recommended you use a hierarchy naming convention such as “Bustrinatrix_p01 —> Burstinatrix_pr01”, where “p” stands as “parent” and “pr” stands for “prefab”. This will be extremely useful when we go to UABEA and we need to replace assets. Keep this in mind.
After you’ve named your assets, drag and drop the animation controller to the prefab 3D model. It should be the second object in the hierarchy: Burtstinatrix_v01 (recognizable with the blue box and tape on top icon= the prefab icon).

This should automatically create an animator controller for your prefab called “V00006_Controller”, which is the name of the animation controller of “Car” 3D pal.
All right! That was everything we needed to do to replace the animations for the 3D Pal’s behavior tree in Unity. Now we need to create the Unity Build.
Go to File>Build settings>Add Open Scene> (add the current scene and make sure it’s checked). Then, also Target platform: Windows. Compression method: Default. Click on “Build”, and then target a directory where you want this project to generate the necessary files to modify the original Car 3D pal. I created a folder called “YGO_Car_Mod_UniBuild”.

When the project completes building, you should see different folders and files. We are interested in directly selecting “level0” and “level0.resS, which are the files that contain the resources for the behavior tree (animation tree) and the animation clips. Select both of those files and copy/paste them into a new folder. Name that folder “Burstinatrix_animation”.


I created the folder one level up from the previous build. I pasted the files into “YGO_Car_Mod_UniBuild/Burstinatrix_Animations”. Populate that folder with “level0 and Level0.resS” which stand for “asset resources”. This is a standard naming convention for resources when Unity Builds a game project and includes all the assets and dependencies to work in-game.
With the Unity File export and the extraction of the two resource files, we are done with Unity. Save the project and close Unity.
(Scroll all the way down the page, find the pagination, click NEXT. This is a very long post)

