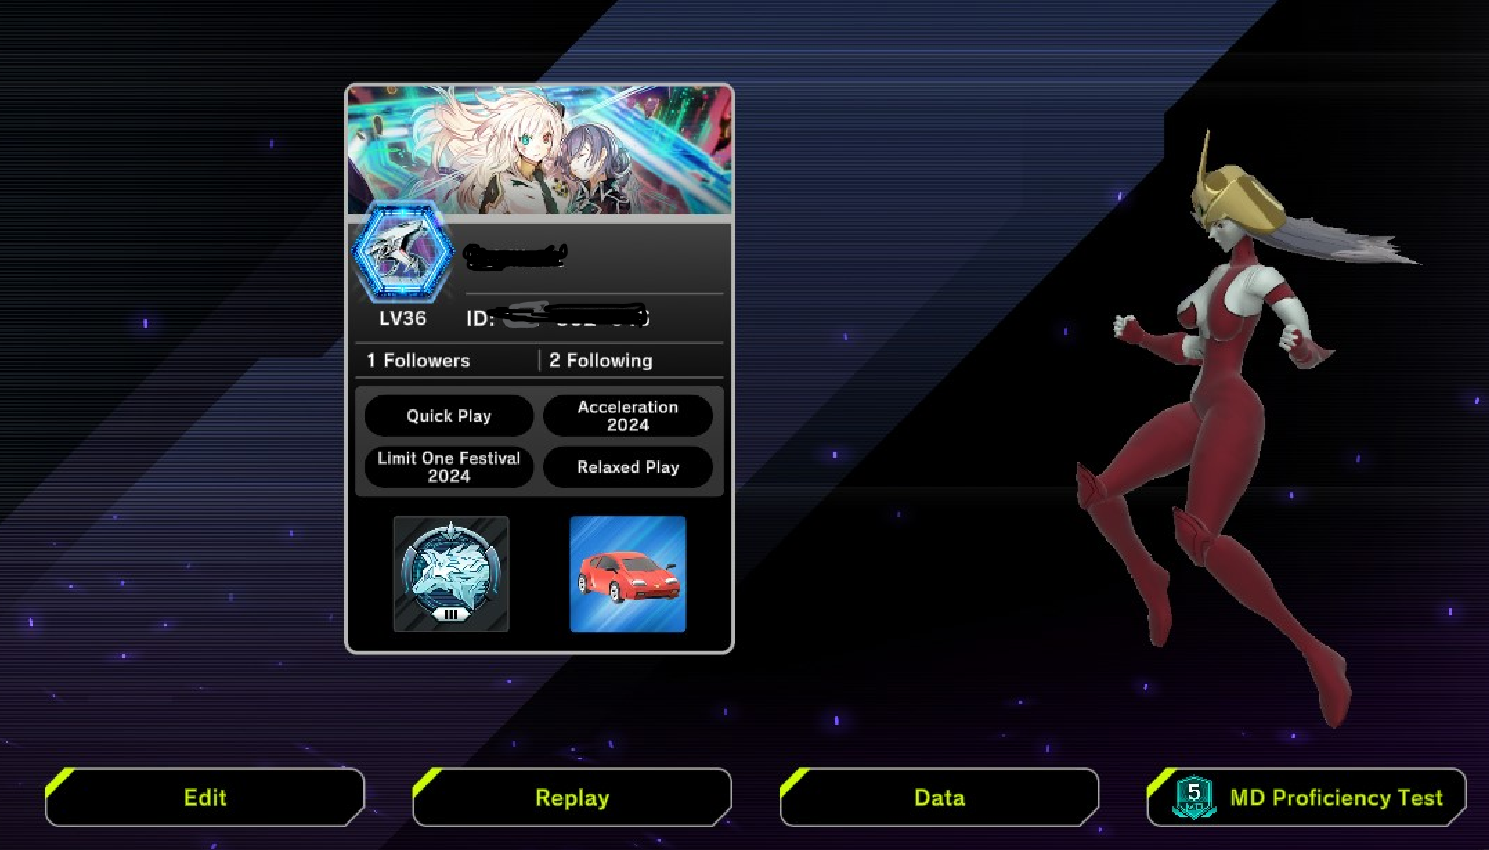
In the following article, we will review the process of modding your 3D mate using the following workflow:
- Create, texture, and rig your 3D character
- Create 9 default animations for the 3D character (Normal[idle], Damage, Entry, Outgame, Profile, Shop, Tap, Tap1, Tap2)
- Identifying a .cab (container file) with the 3D mate you want to replace
- Identifying the mesh, material, animation controller, animation clip containers within the .cab file and their Path ID
- Deleting the containers in the original .cab file, replacing them, and adding the (SRT, Materials, Textures, Mesh, and Animations container objects/properties) from your Unity’s exported 3D mate.
- Reuse and edit Path IDs, path data targets, and .cab properties from your 3D character to match the original .cab container properties and filenames.
- Saving the .cab new edited file with the same name as the original file.
- Replacing the original .cab data file in Master Duel with your edited .cab file
- Open Master Duel and select the modified 3D Mate in your profile. Start dueling.
This is quite a long post, and it’s currently unfinished. The way I approach different HARD topics is by assigning them certain amount of time for research. I set a good 3-month research for this (5 months tops), and I finally got a decent amount of information on how to mod your models into Master Duel. You can check my first 3 months of research with detailed processes and images (please write in the comment section below or DM me to get more information).
NOTE: The following post assumes you have 1+ year of experience in Blender and Unity. However, modding is a little bit tricky in some aspects, so feel free to write your thoughts in the comment section below.
NOTE2: Scroll down the page (all the way to the bottom) you’ll see the NUMBER PAGINATION. That way you can follow this long thread.
PURPOSE: This information is for EDUCATIONAL PURPOSES ONLY. I am not responsible for any damage to your system files or other issues while modding your game. My intention is not to infringe any laws or agreements from game companies. This is posted for those curious minds to understand and learn how videogames are made in their own free time.
Software Requirements
Blender 3.6>> (or any DCC 3d authoring tool)
Unity 2020.3.46f1>>
UABEA>>
Asset Ripper
AssetStudio>>
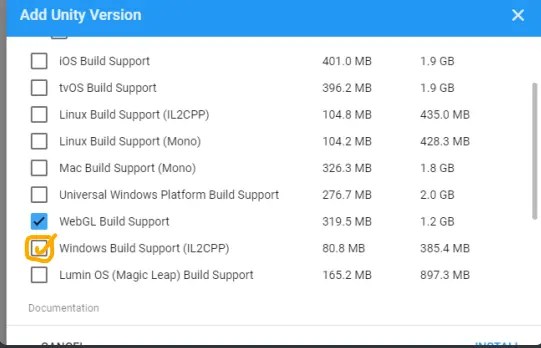
We’ll model, texture, rig, and export animations from Blender. You’ll need UABEA to Copy/Swap/Overwrite the Modded files back into Master Duel. You’ll need Unity 2020.3.46f1 to generate the .cab packed file and edit the properties inside it. Install Unity using Unity Hub>> . When you install it, make sure to include the check “Windows Build support”.

Install all of the above software. Make sure to restart your PC. This article will be covered in different pages. Make sure to scroll all the way down to this page, and you’ll see the pagination numbers.
Create, texture, and rig your 3D character
This section goes through the process of creating and preparing your model in Blender. It is important to note that even though blendshapes for facial animation are supported in Unity, they are not used in Master Duel. The characters who have facial expressions (namely Ash Blossom, Sangan, Linkuriboh, Ghostrick Lantern…) swap 3d mesh faces at runtime. Why this decision was made instead of using blendshapes is out of my knowledge. However, it is recommended you do a simple facial rig or use Rigify’s facial rig if you must rig the face of your character.
⚠ Important Note:
Plan your model’s bone hierarchy. If this is your first time modding MD, try to do 4 to 6 bone rig characters and include a 0,0,0 “Root” bone as the main parent. You will need to create each game object’s bone names in the .cab package, so it’s easier if you deal with 4 or 6 bones, than with 82+ unique game objects the first time you mod your .cab file.
You need to model your character or have a model already created for this section. After you import or create your 3d model in blender, make sure of the following:
- Create an armature using Rigify. Shift+A>Armature>human. A metarig will be created in the outliner. Select the metarig, enter EDIT MODE, adapt the bones to your character. (Alternatively, if this is your first time doing this, Shift+A>Armature>Single Bone will add just 1 bone; make the other 3 bones to drive the upper part of your character and position them according to the character). The important point is that you name this rig the same as the main rig of the Master Duel 3d pal you want to replace (more on that later)
- We’re going to use the addon GAME RIG TOOLS, to create an extra armature that is game friendly. Make sure to install this addon to continue with this process. This way we can animate the character’s body however we need it, but export a “light” version of the bones it will use for Unity’s animation.
- Bones can have any name for the body rig, so we’re good using Blender’s Rigify armature names.
- Create a .png image for the texture in 2048 x 2048 pixels. Assign this texture to a material’s principled shader’s base color. Assign that material to your 3d model. You’re going to only use 1 texture and 1 material for this process example. You also need to know how the material and the texture are named for the 3d pal you’re replacing (more on that later)
- Make sure your object’s UV Map name is called “UV0”.
- Create your animation and bake it using GRT. Name each track accordingly. The first NLA track is the first “idle” track read by Unity. Create 9 default animations for the 3D character (Normal[idle], Damage, Entry, Outgame, Profile, Shop, Tap, Tap1, Tap2)
- Export your GRT rig, to FBX and use appropriate export settings so 1 unit in Blender is 1 unit in Unity and Y is up.
The above listing is the general overview of the 3D modeling/animation/exporting stage.

(Scroll all the way down the page, find the pagination, click the next page. This post is super long)

